3D Drawing
Being the technical operator of a motion capture system at University Falmouth UK, I worked on many projects with students and staff of the University. In my private time, I transfered sketches into 4 dimensions (3 spacial + time) to create three-dimensional sculptures.
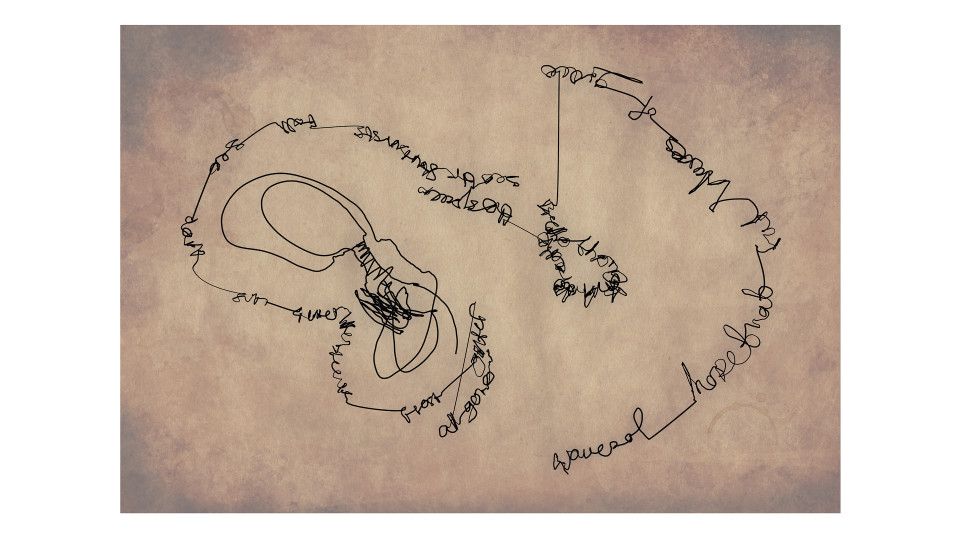
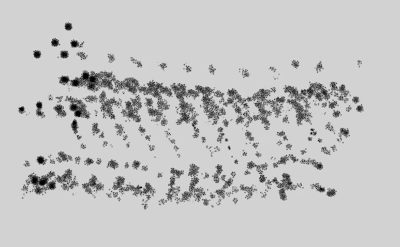
Beside using sketches as drafts, I also created motion data in free style drawing sessions or by tracing a negative plasticity of a performers pose by recording the movements around the body.
The work flow:
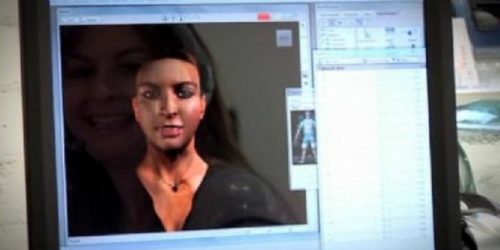
- Recording motion data
- Importing data into a 3D application (Blender3D)
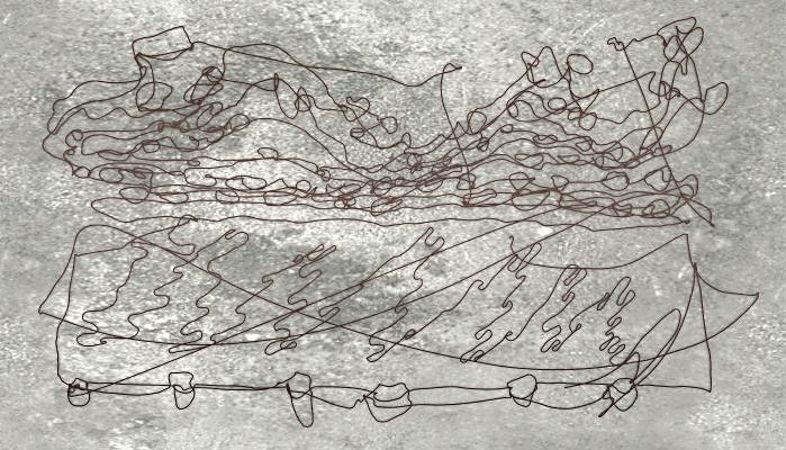
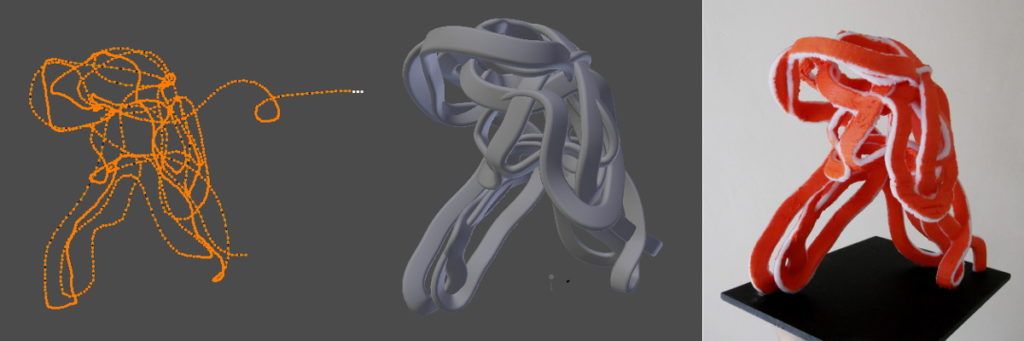
- Creating a curve by tracing the path of the movements
- Applying an extrusion modifier to the curve and converting the result into a mesh.
- Exporting
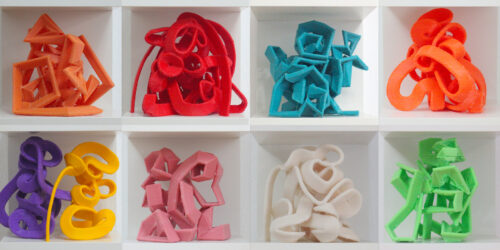
- The printed sculptures are in different colors or colored with Acrylic paint afterwards
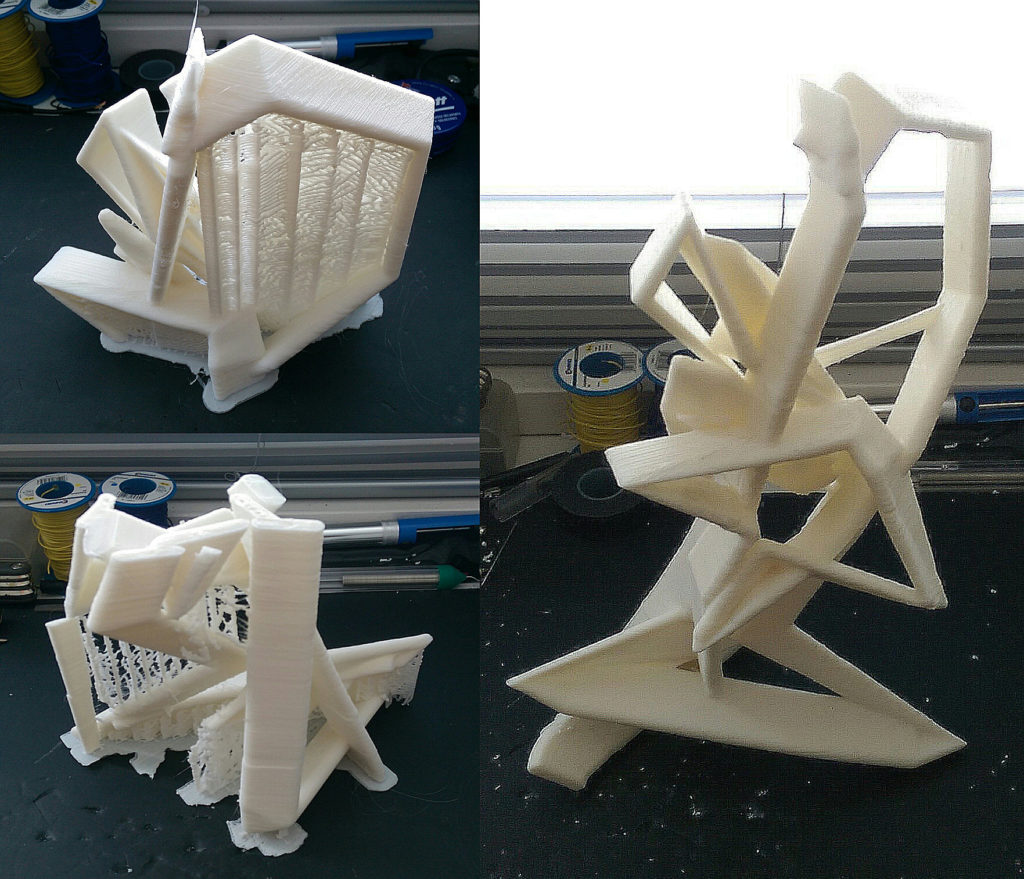
Step 4, 5 and 6:
The following video shows the motion capture section of the workflow:
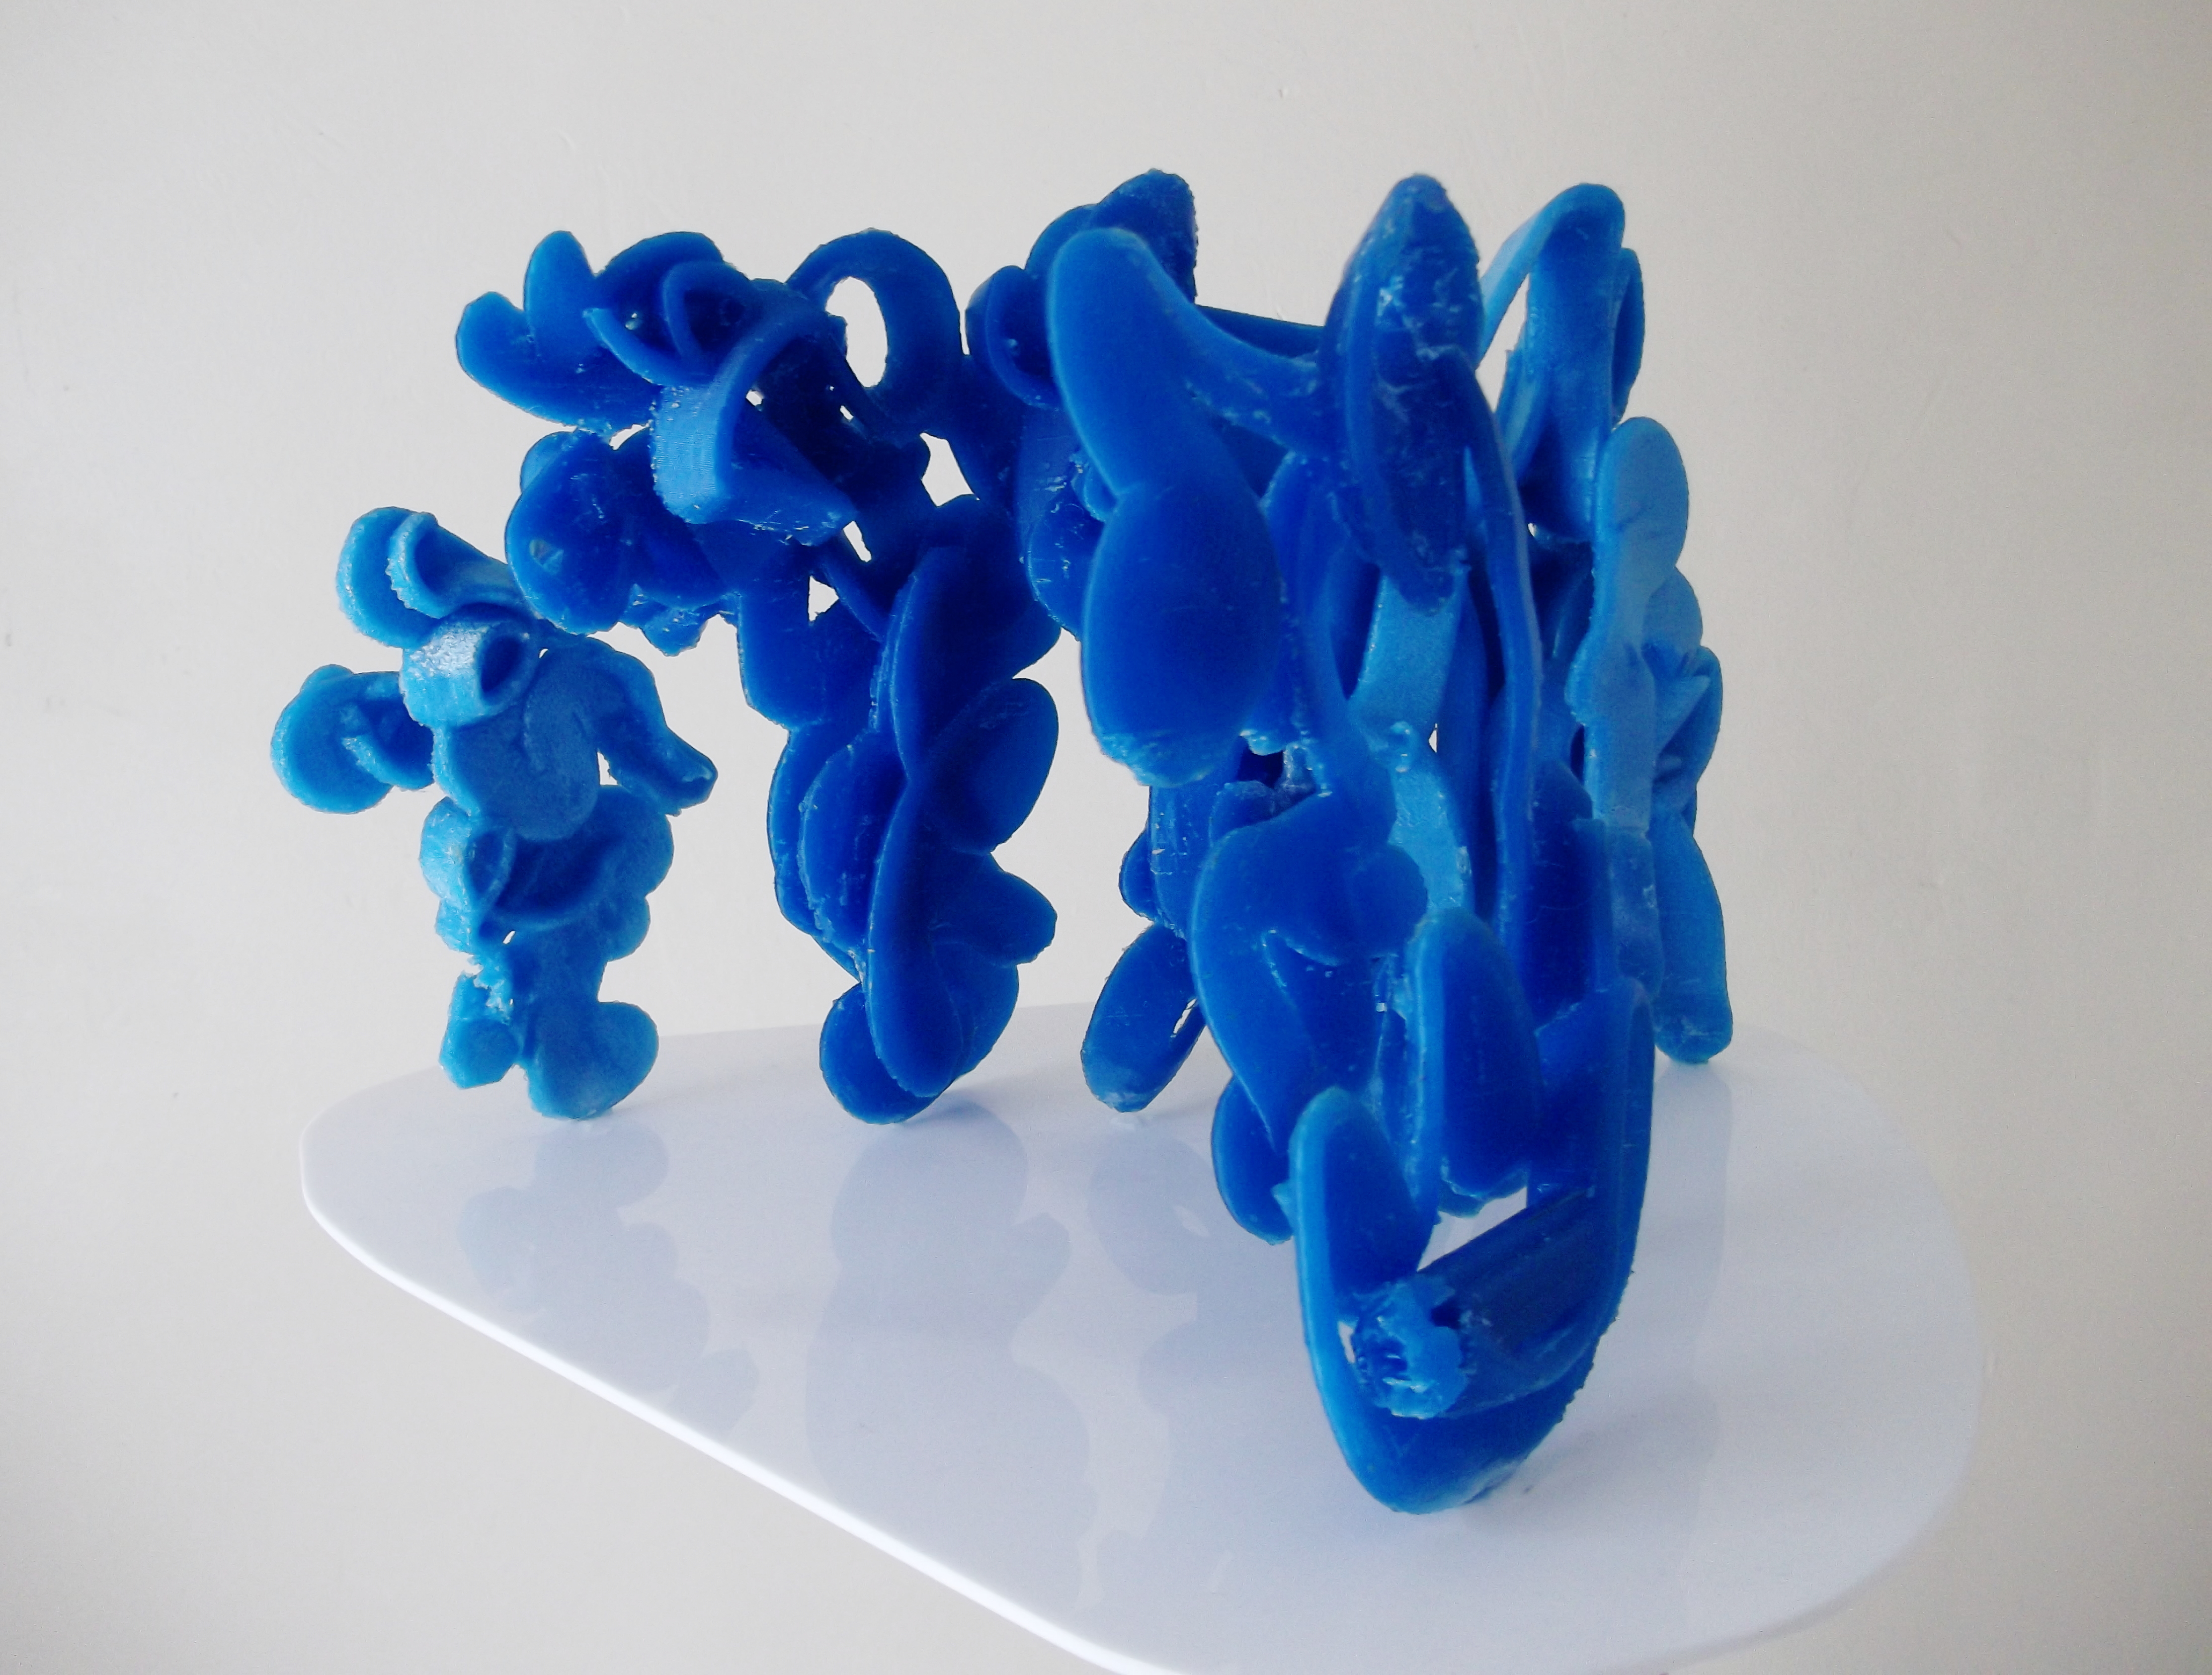
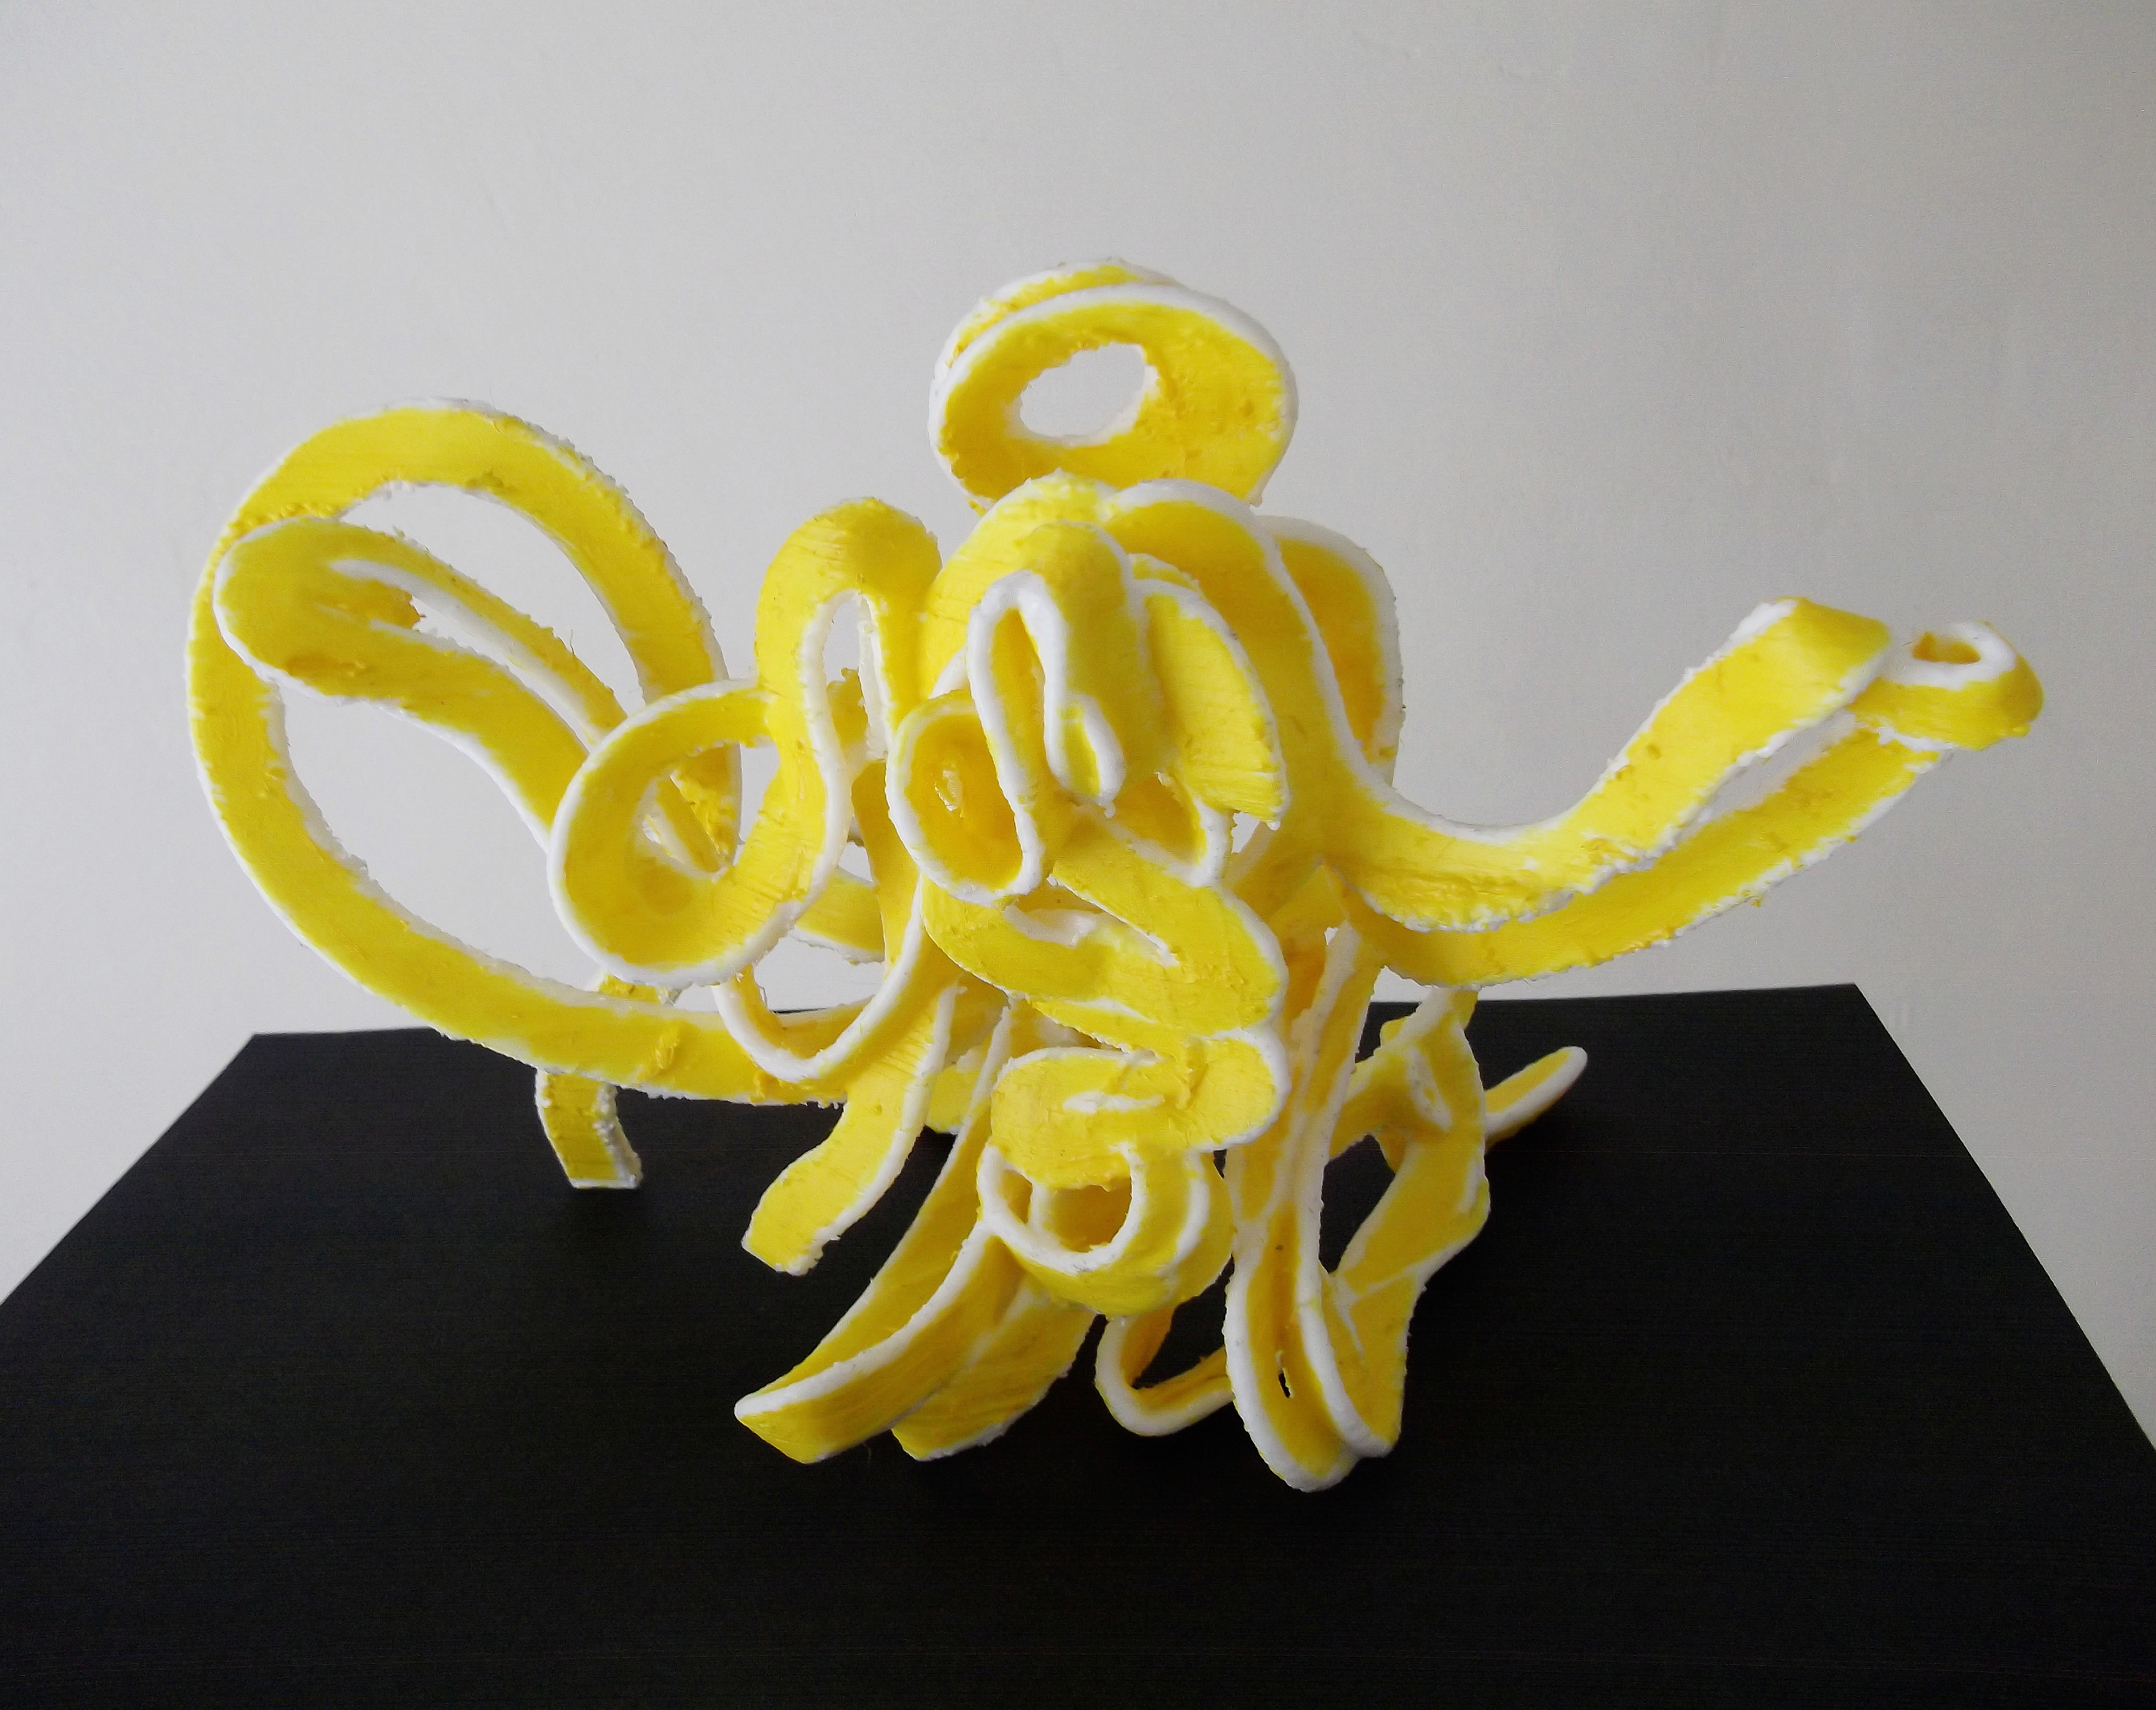
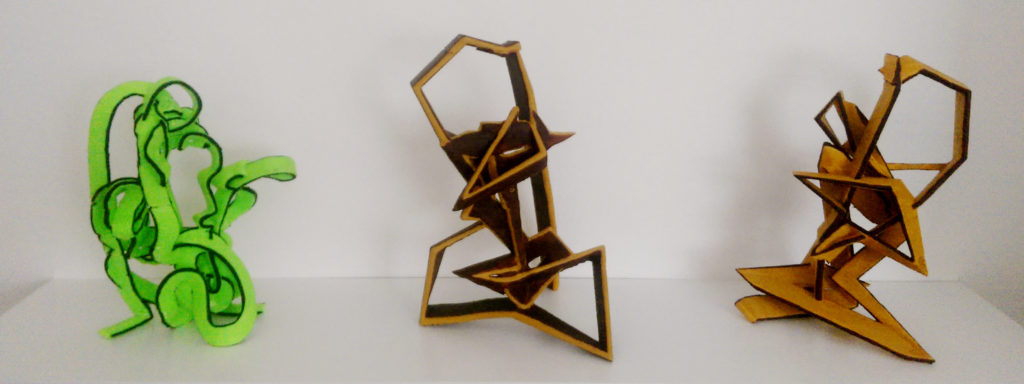
Resulting 3d printed sculptures

NEW SIZES IN 2017
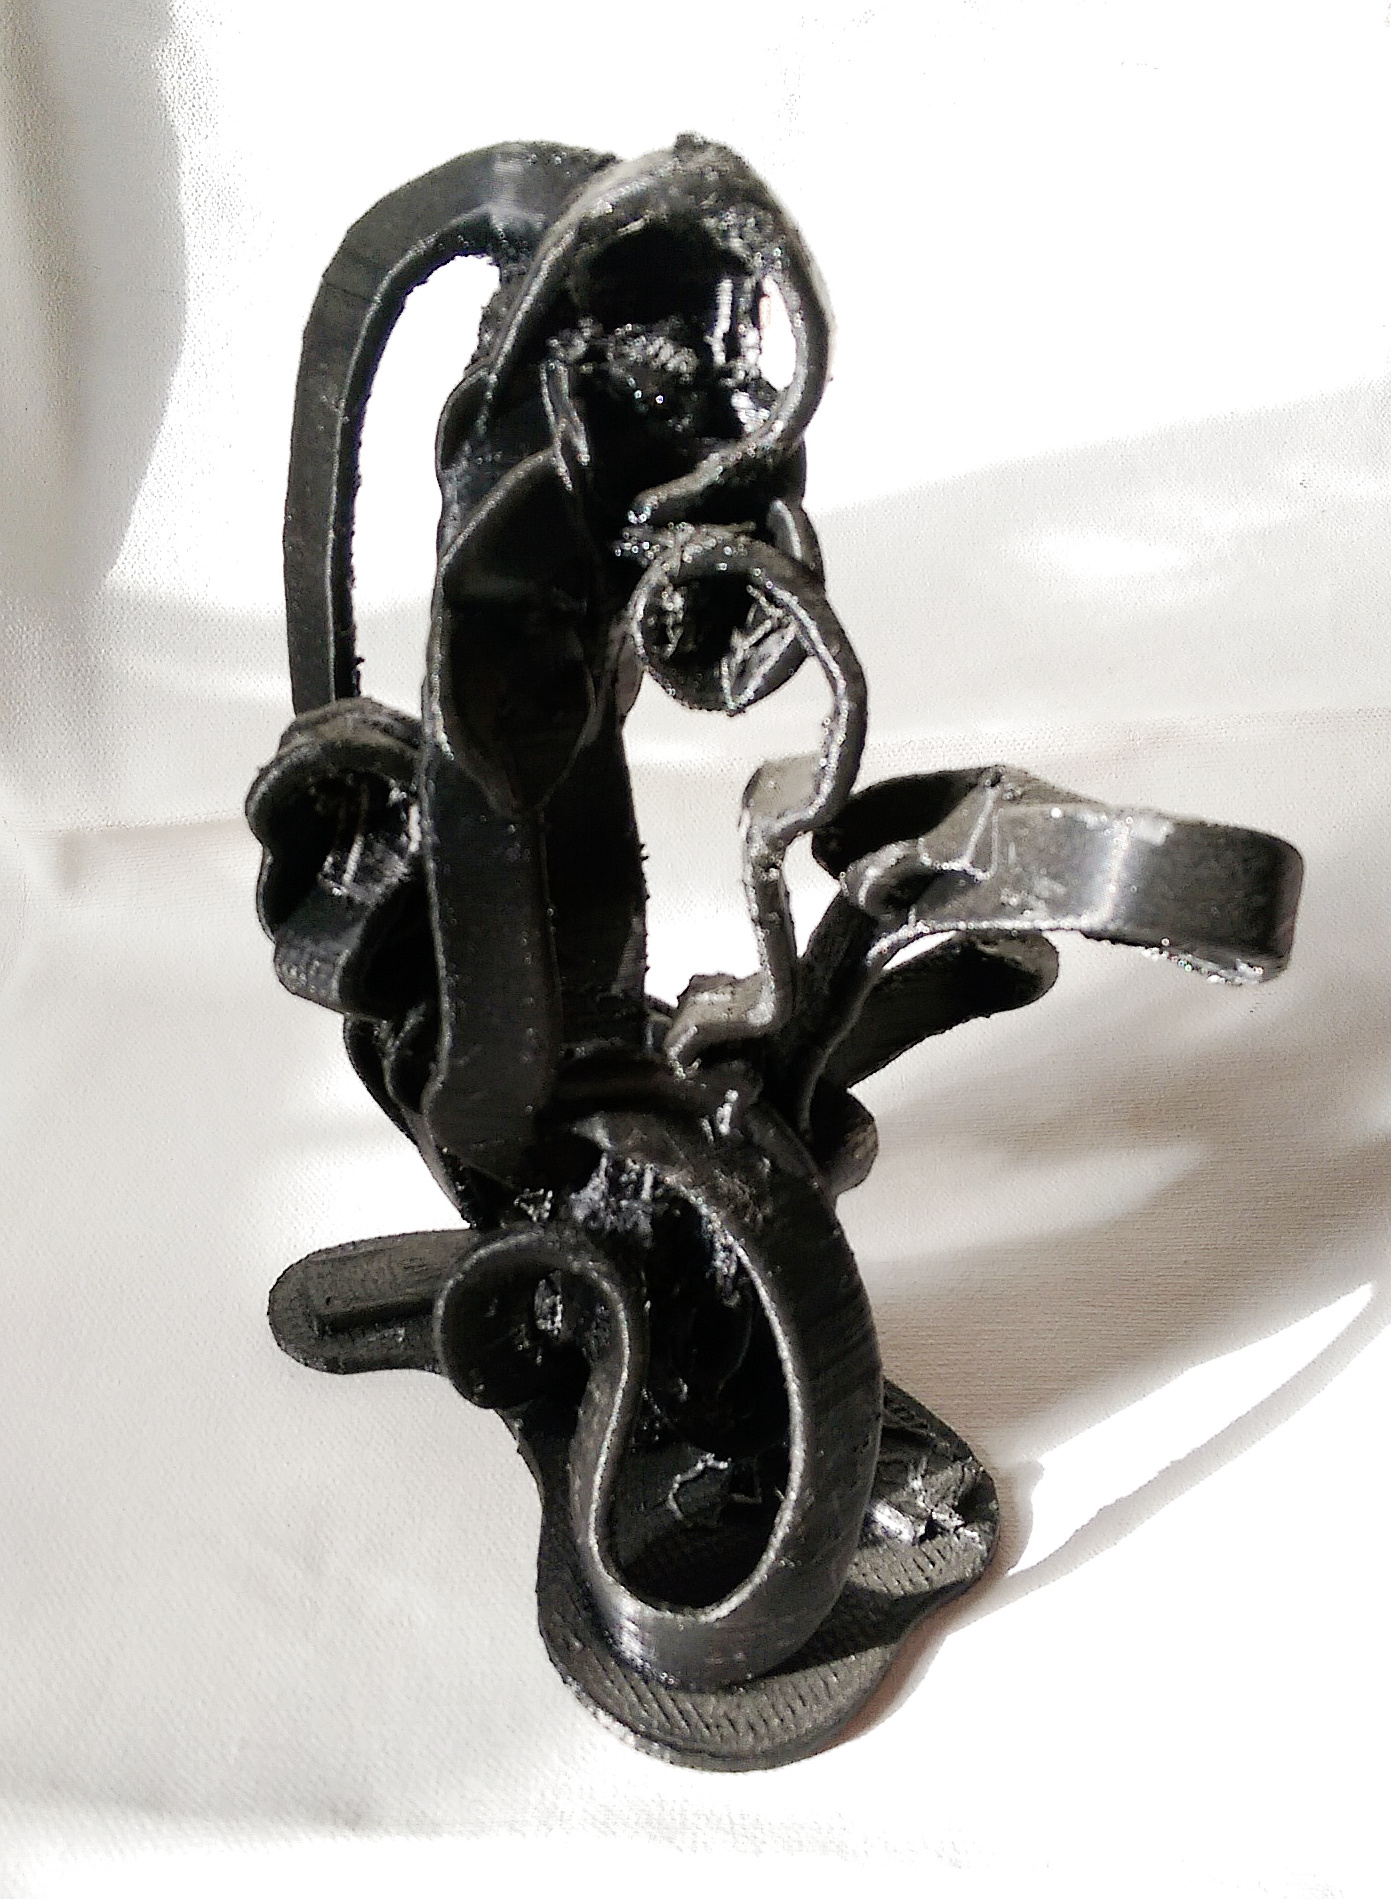
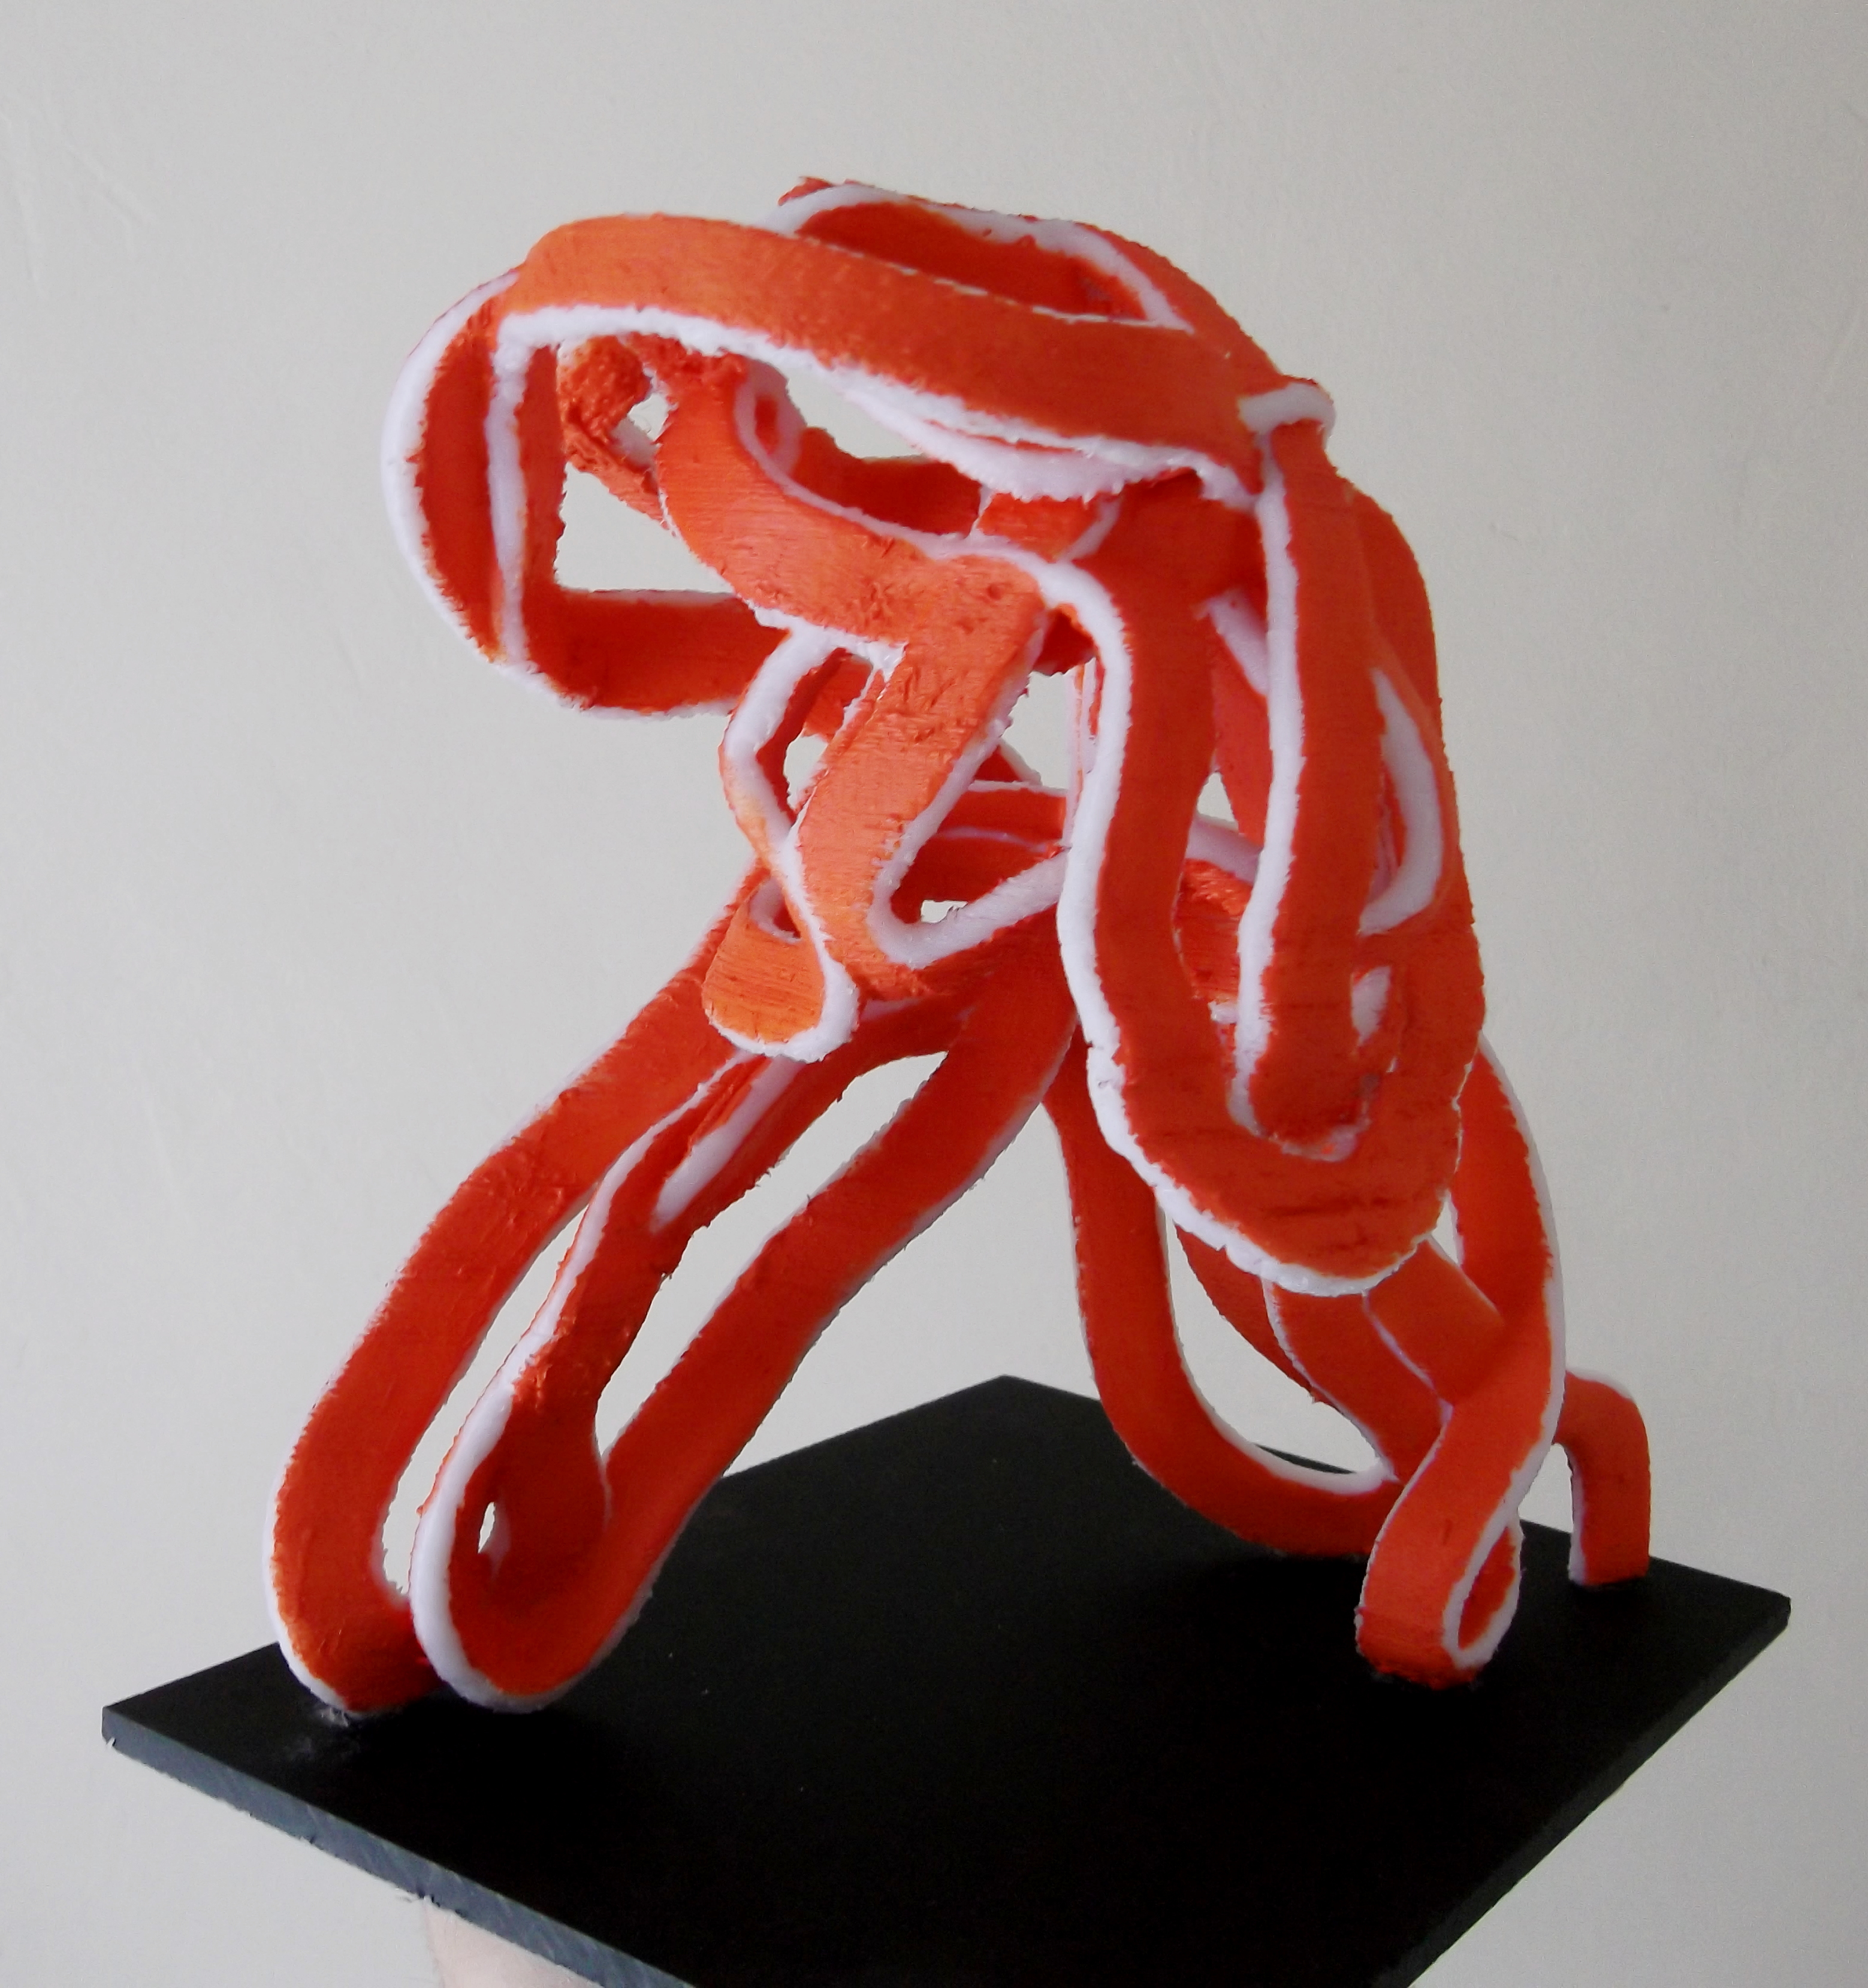
All previous sculptures created did not make it bigger than 19 cm in height. In splitting sculptures while implementing connectors, the sizes can be expended, even though the limitation of printing size. Below an example of the printed parts and resulting piece
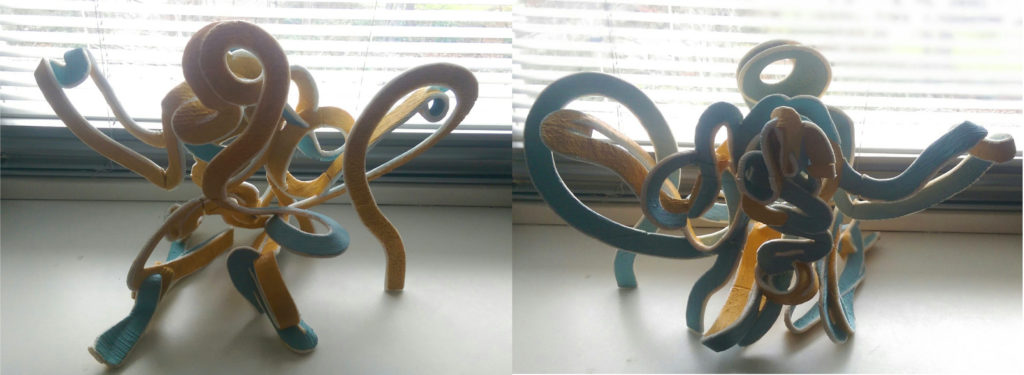
Again, I used acrylic paint to visualize the previously drawn line dynamics.
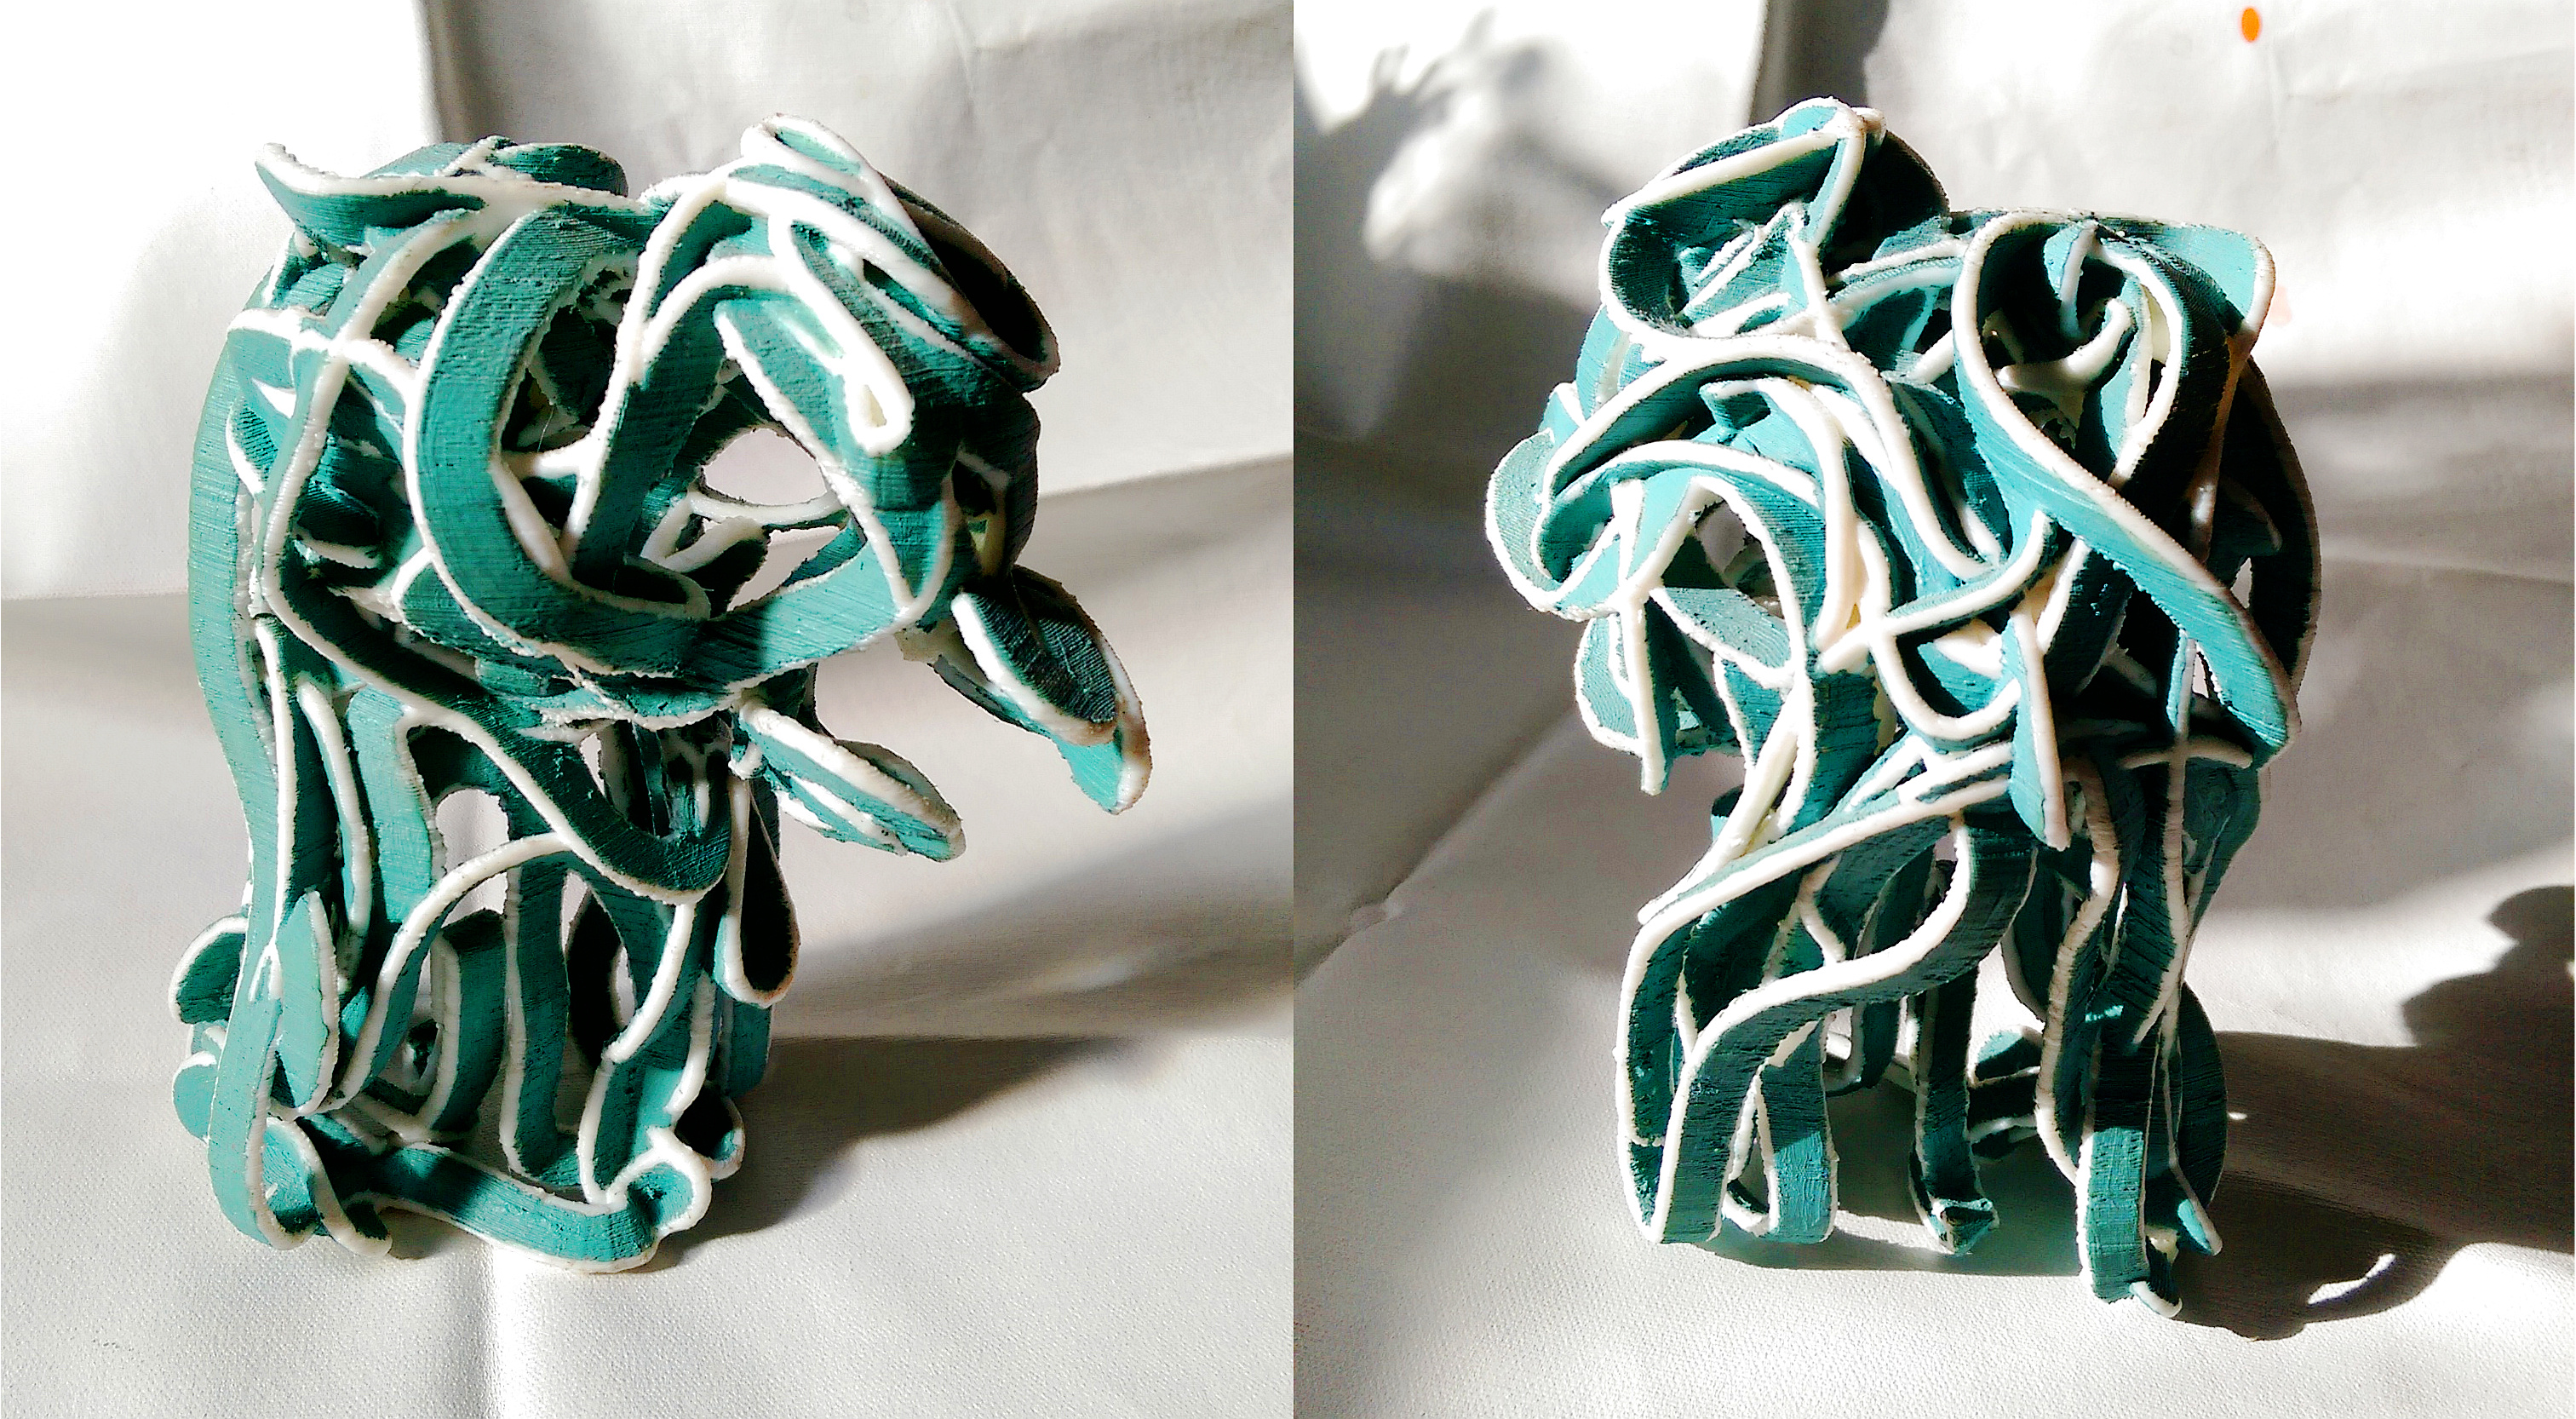
DECEMBER 2017:
To the end of the year, I printed out another sculpture based on a 3D drawing from one of my motion capture sessions. This sculpture is created by 11 separate pieces, and has a final size of 58x37x34 cm.
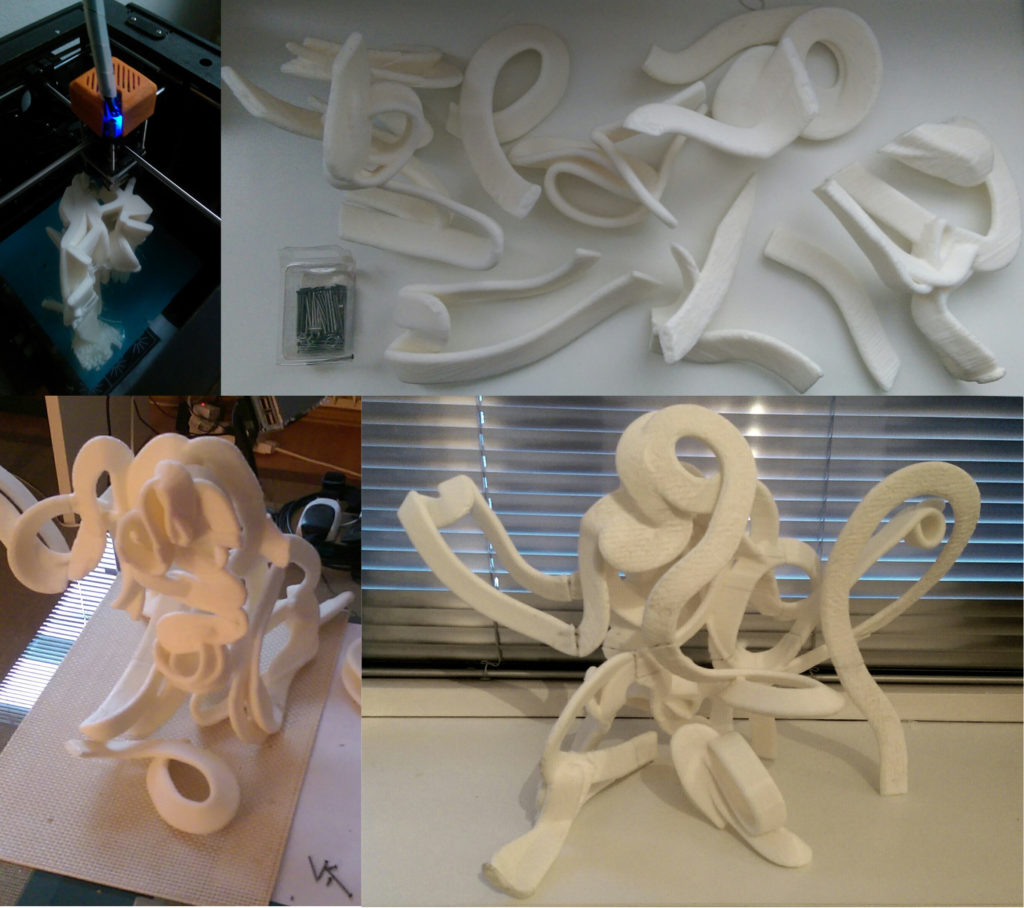
For the finish, I decided to use 3 colors this time. I left white of the print filament on the path edges, while using one color for each flat side of the path.
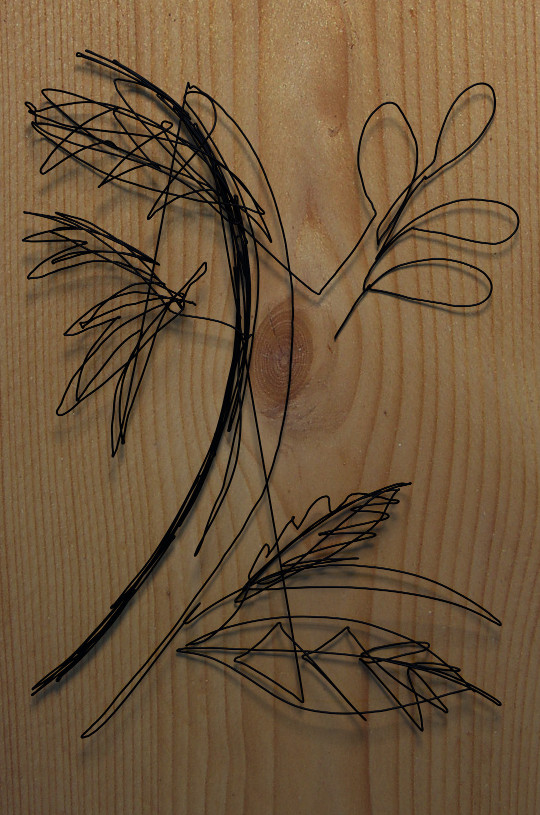
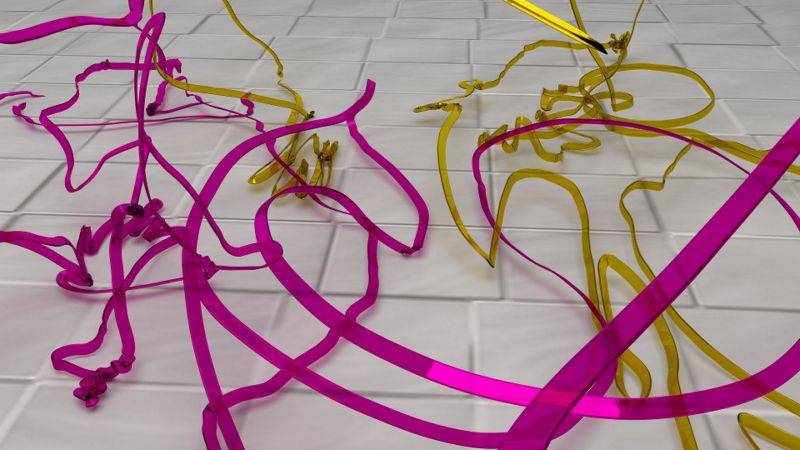
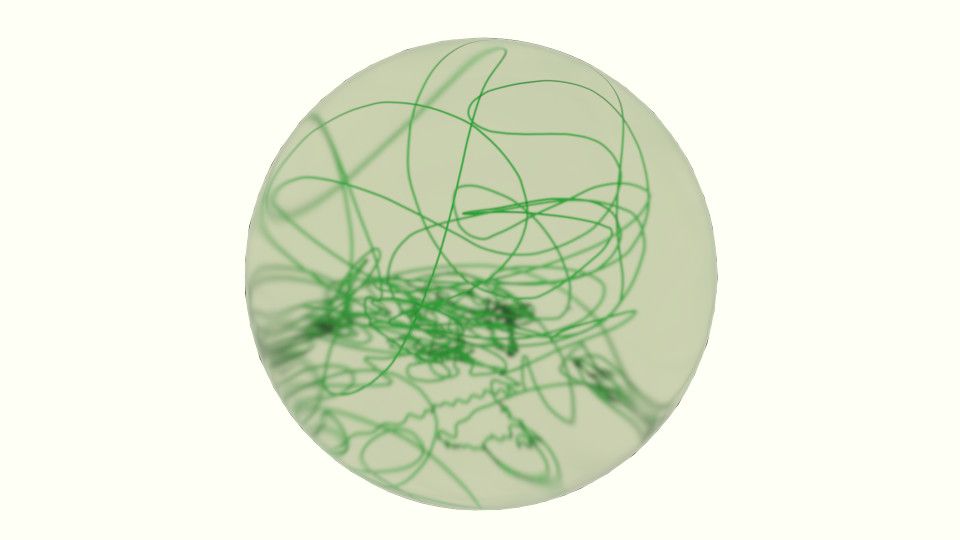
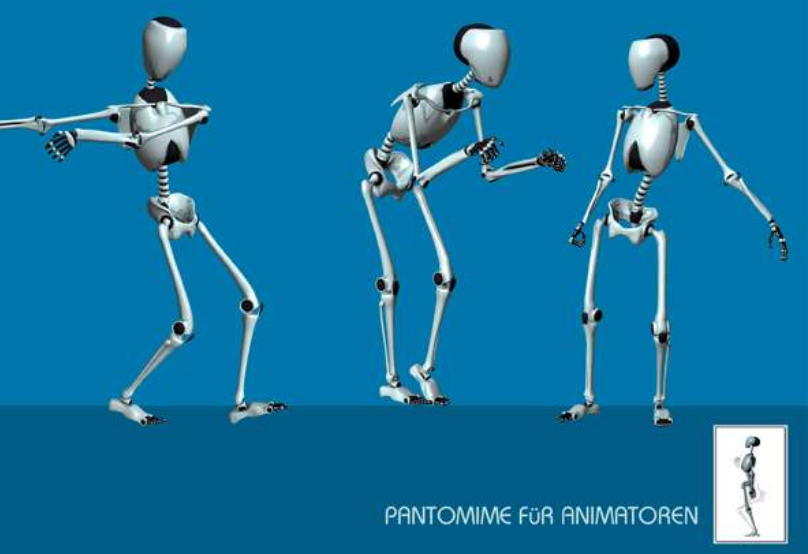
The same work flow I used to create sculptures applies to a motion capture introduction work shop with a group of staff members of the design department at the University. I used those recorded data to create following renders with Blender3D: