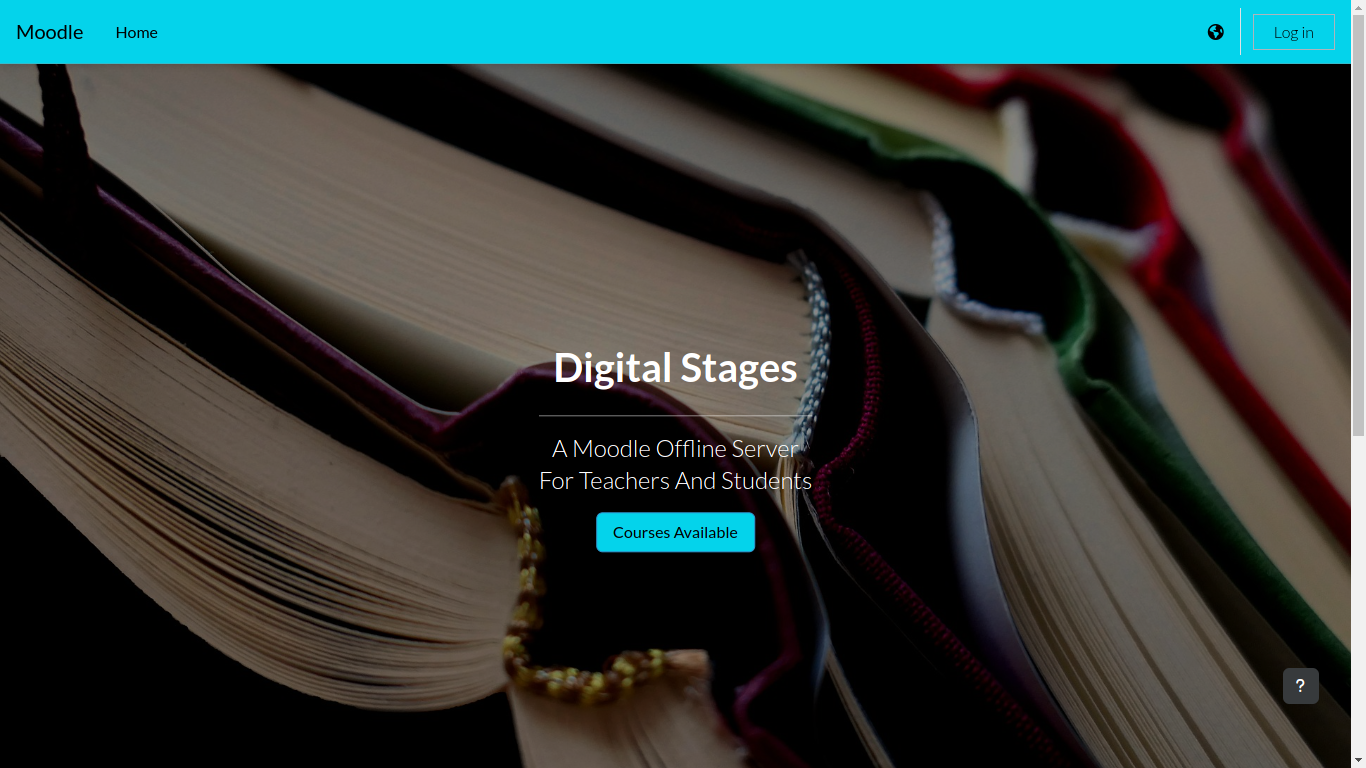
Moodle Offline Distro with Workshops
DigitalStages
A Moodle Offline Server Distro for teachers and students
Introducing an USB Distro, a Linux-based operating system specifically designed to facilitate workshops. This versatile distro can be easily booted from an external USB drive/stick, or cloned onto a hard drive, which makes it a perfect tool for testing and experimenting with various workshop platforms.
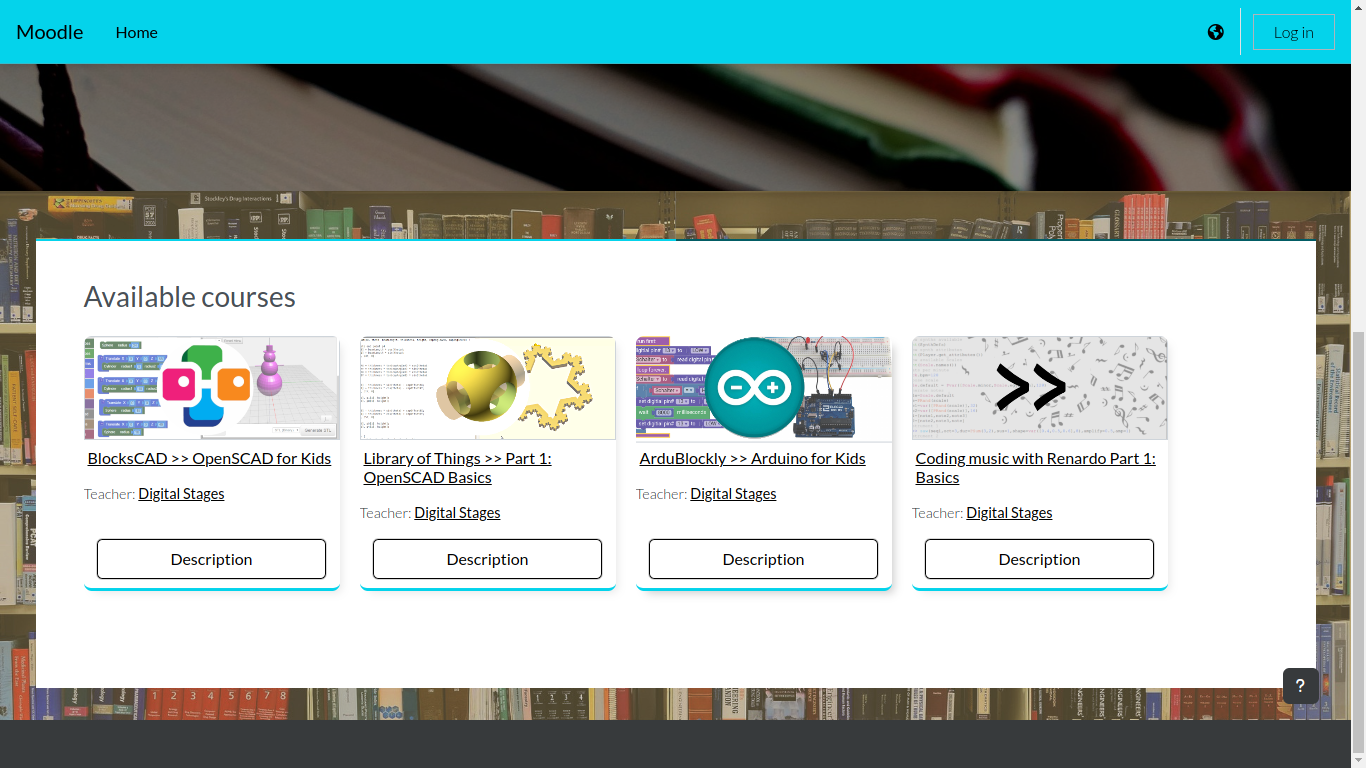
Moodle is the chosen LMS platform, as it is easier to export courses to other LMS platforms e.g. Canvas LMS.
With this Distro, educators and students alike can seamlessly access and explore a wide range of resources and tools in a user-friendly and convenient manner.
Say goodbye to compatibility issues and time-consuming setups, and say hello to an efficient and hassle-free workshop experience with Workshop Distro!
Tip: Consider a USB 3 dongle with fast reading (100 - 400 MBps) with at least 64 GB.
IMG Distro package >> MoodleOffline_latestVersion.img.xz
RoboWrap Project
What is in it?
| Software | Icon | Description |
|---|---|---|
| Linux MX | Linux Distro with basic software packages | |
| Moodle | Offline Server >> LMS (Learning Management System | |
| Jupyter Lab | JupyterLab is the latest web-based interactive development environment | |
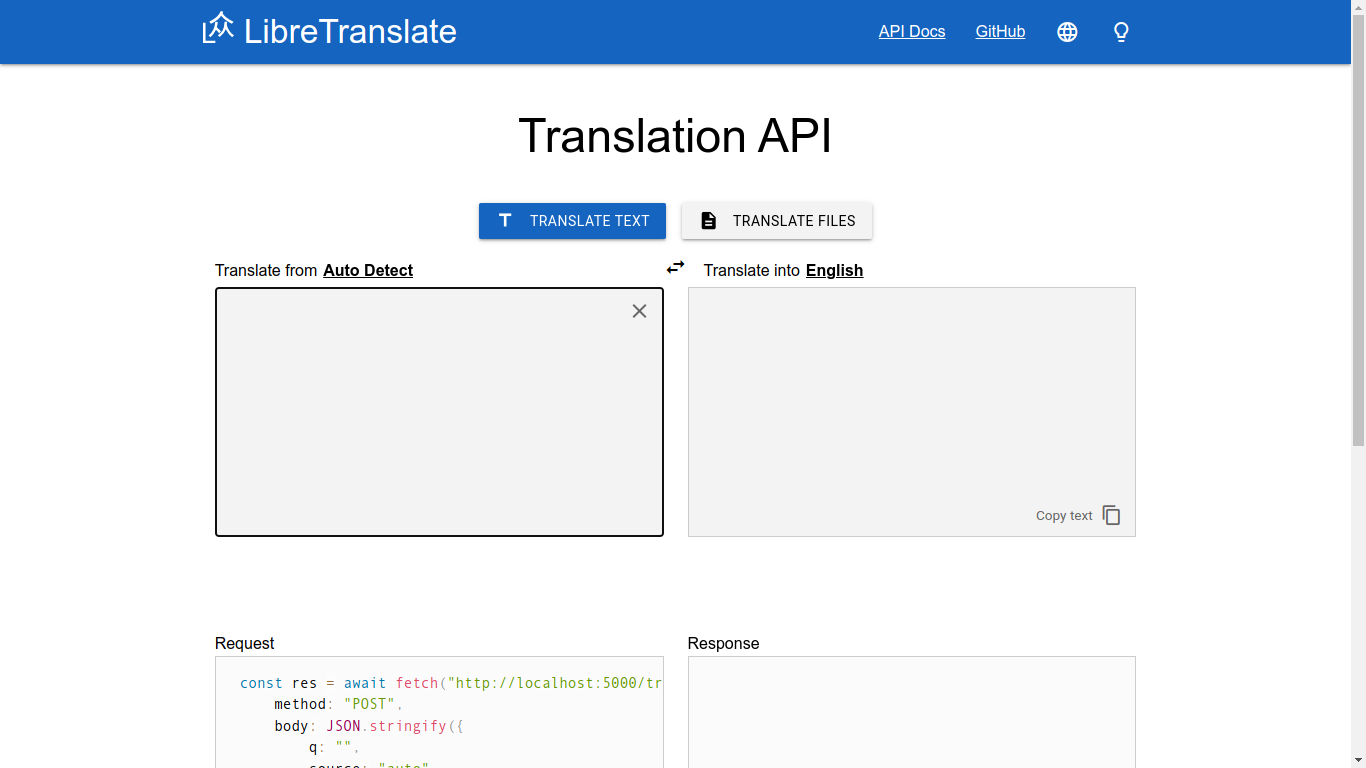
| LibreTranslate | Server >> Offline Translation API (similar to Google Translate) | |
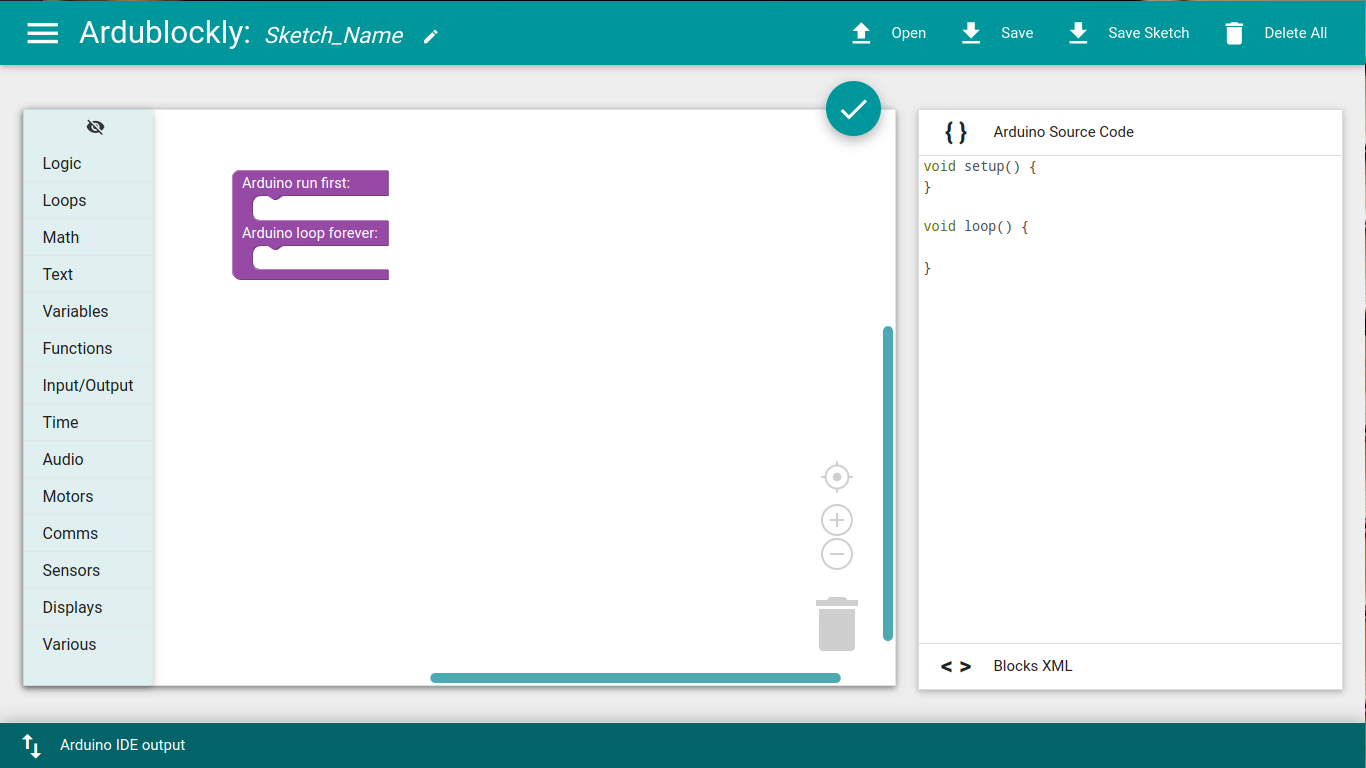
| ArduBlockly | Browser-based visual programming editor for Arduino | |
| Arduino IDE | The open-source Arduino Software (IDE) writes code and uploads it to the Arduino board | |
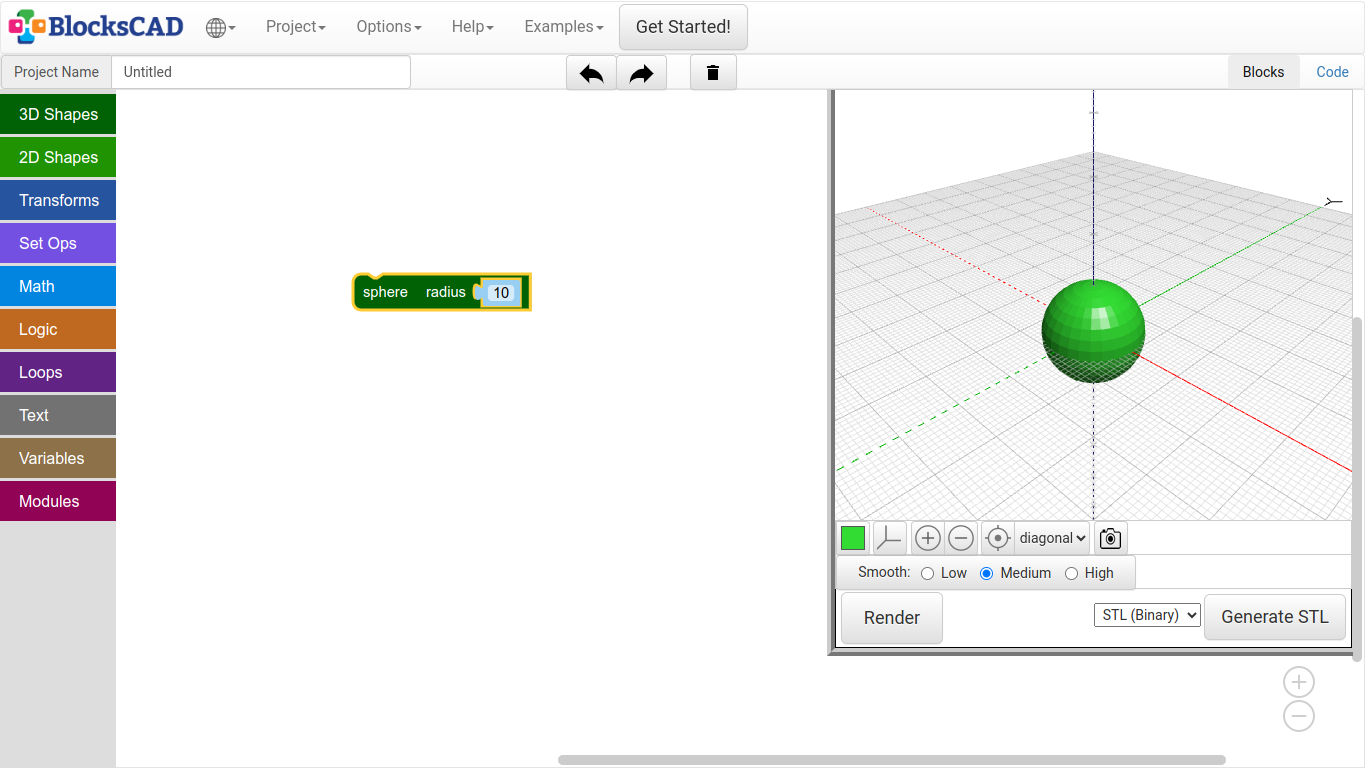
| BlocksCAD | Browser-based visual programming editor for OpenSCAD | |
| OpenSCAD | Application for creating solid 3D computer-aided design (CAD) objects | |
| Prusa Slicer | Application for slicing object files to prepare for 3D prints | |
| Kiri:Moto |  |
Software to slice objects and control 3D printers |
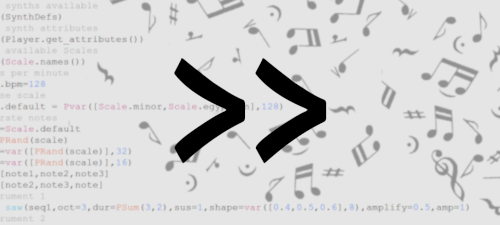
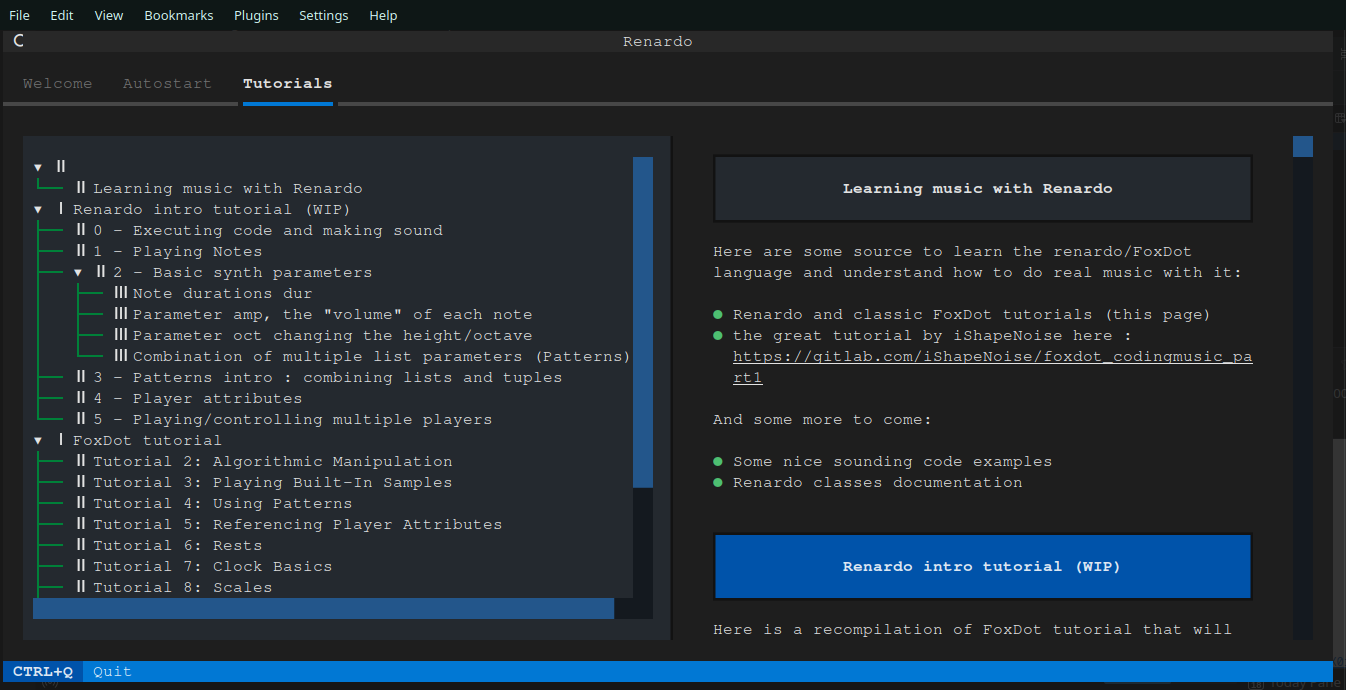
| FoxDot | Python-based Live-coding music environment (successor of FoxDot) | |
| Scratch | Coding language with a simple visual interface for kids | |
| Geany | Programmer's text editor configured for Python Development | |
| Godot | Open‑source game engine with Python integration | |
| Blender | Free and open-source 3D computer graphics software | |
| Dilay | 3D sculpting application that provides an intuitive workflow using a number of powerful modeling tools | |
| Gimp | Image Manipulation Software | |
| Inkscape | Vector grapics application for illustrator, designer, web designer | |
| Audacity | Audio editing and recording app | |
| SSR | Simple screen recording app | |
| Zoom | Platform for online meetings / video conferencing | |
| Slack | Platform cloud-based team communication platform |
Furthermore, there are Python libraries installed, which can be used to write little programs wihtin Geany:
ursina >> An easy to use game engine/framework for python
pyglet >> Cross-platform windowing and multimedia library for Python, intended for developing games and other visually rich applications
Note 1: All browser-based and server software will start within a terminal. To quit each software, you will need to go to the according opened terminal and press CTRL+C to close it.
Note 2: LibreTranslate will start a server within a terminal. Wait for the message below (some seconds). Open the LibreWolf Browser and click on LibreTranslate
Checking for docker... found
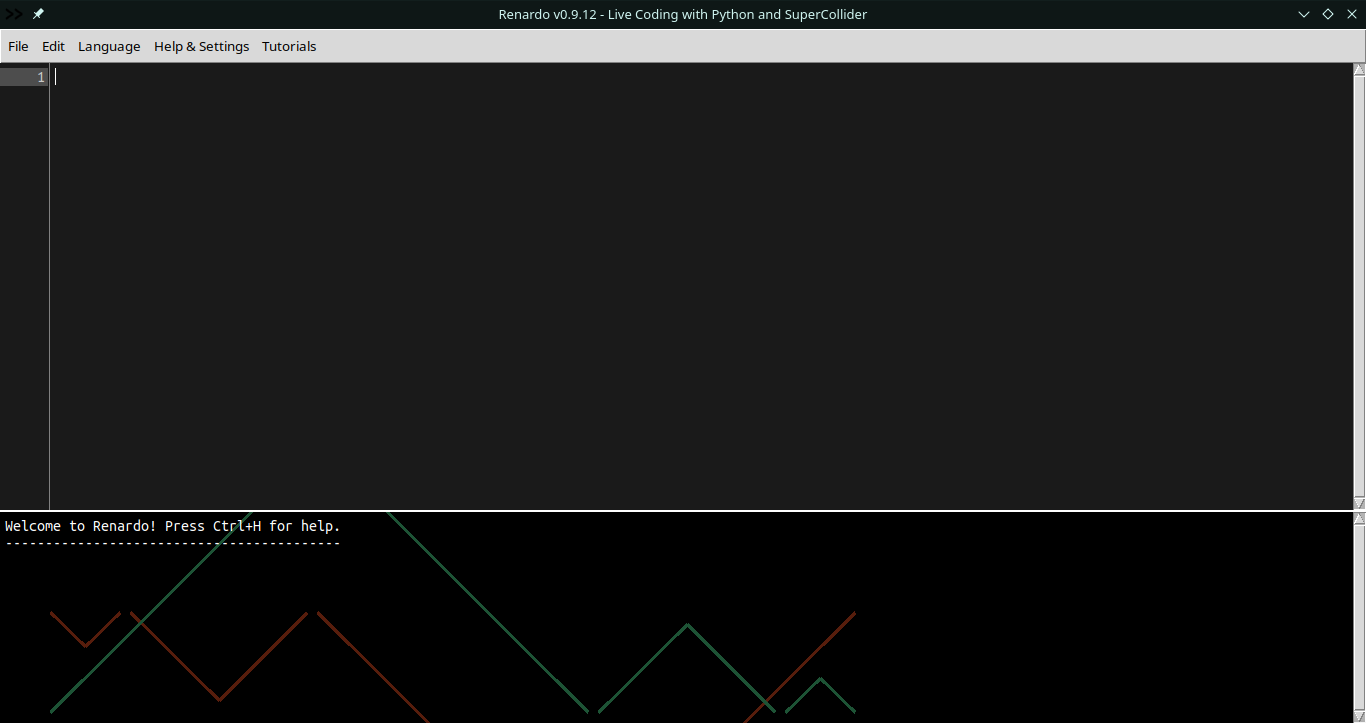
Running on http://*:5000Note 3: FoxDot is still in heavy development. Click the 3 icons on the panel.
- 0 - QJackCtrl - Starts Jack Audio Server
- 1 - SuperCollider - Starts SuperCollider within Jack
- 2 - Starts FoxDot App
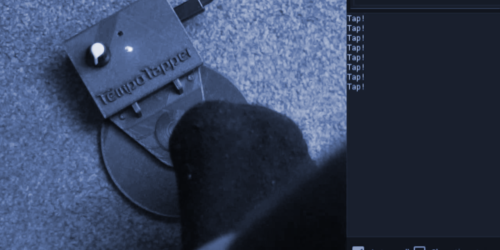
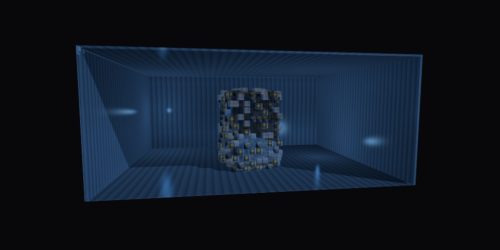
Image gallery
Installation guide
Please read the Liablity Disclaimer beside the .img.xz file, before downloading and/or installing this distribution
Hardware:
- USB Stick (minimum 64GB)
- Laptop/PC with Linux, Windows or Mac
Software:
- Distro img file (xz image archive)
- Flashing Images to USB Software (BalenaEtcher)
Instructions
-
Download iso image: MoodleOffline_latestVersion
-
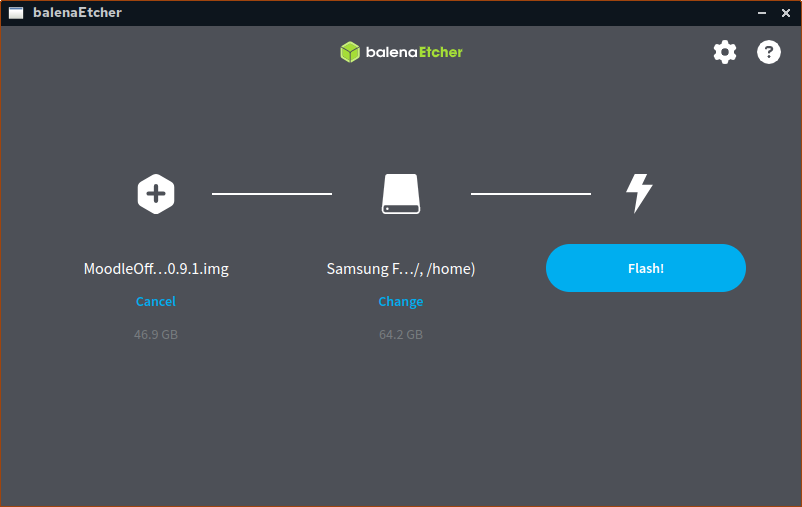
Use BalenaEtcher >> Select img.xz file, then USB Drive https://www.balena.io/etcher/
-
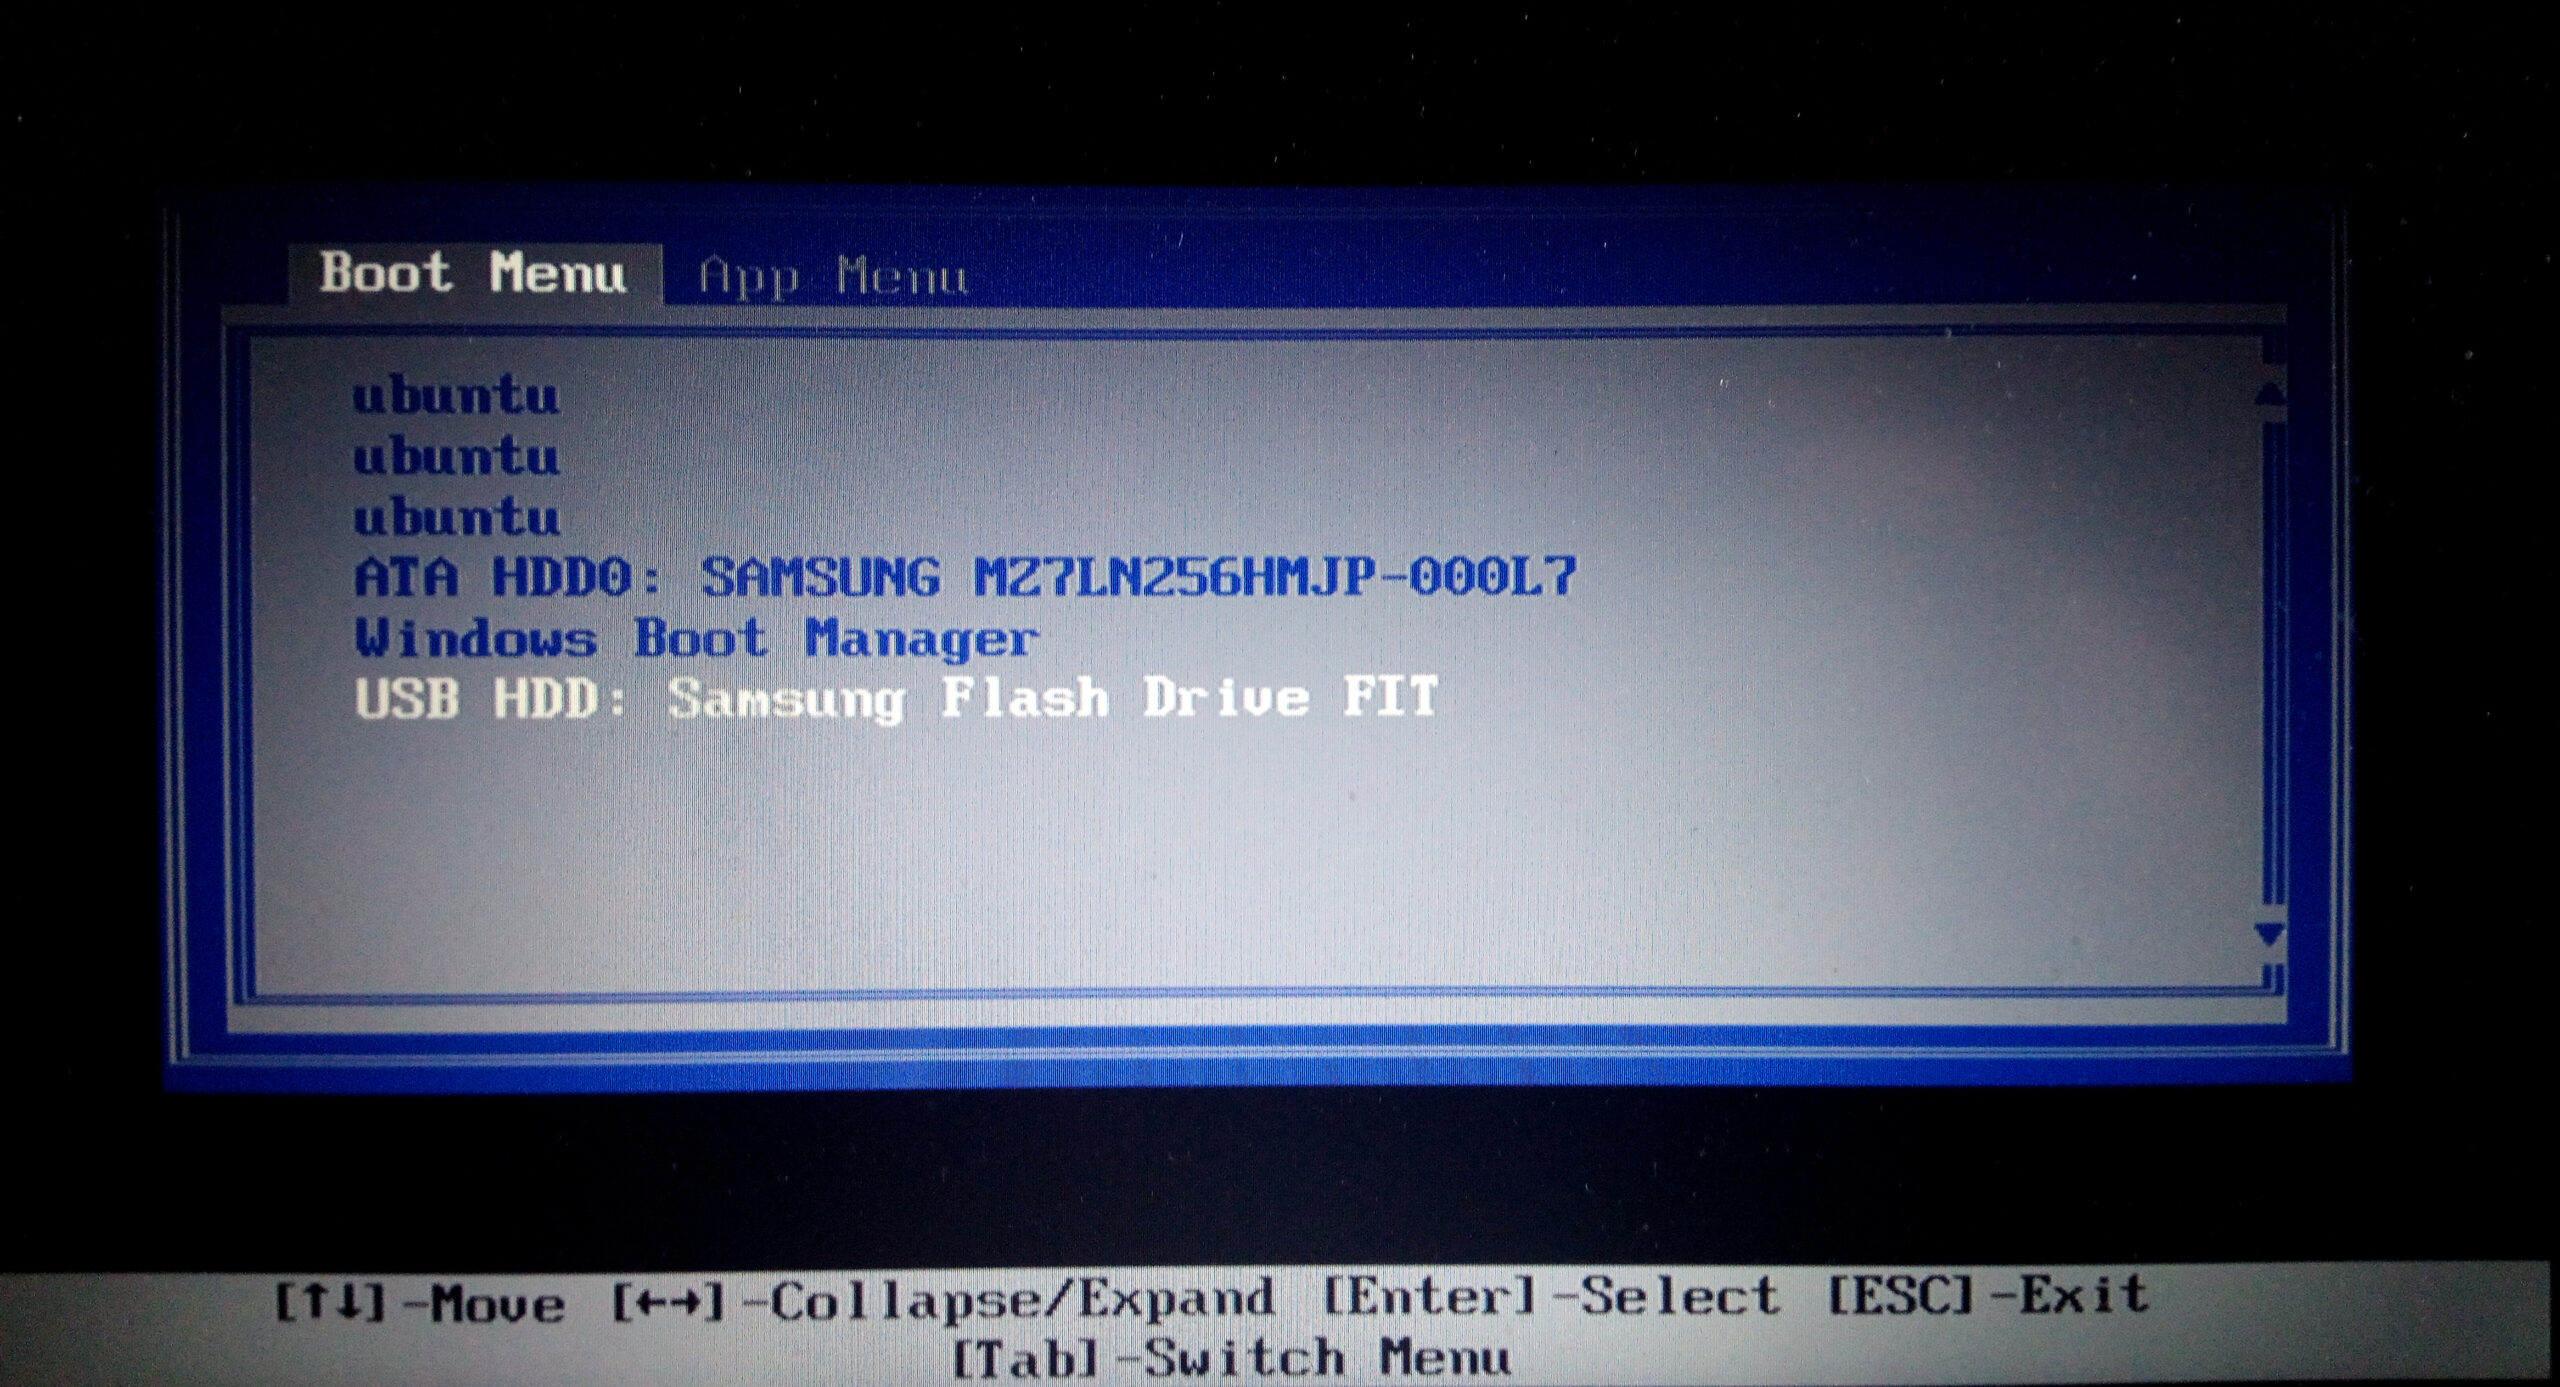
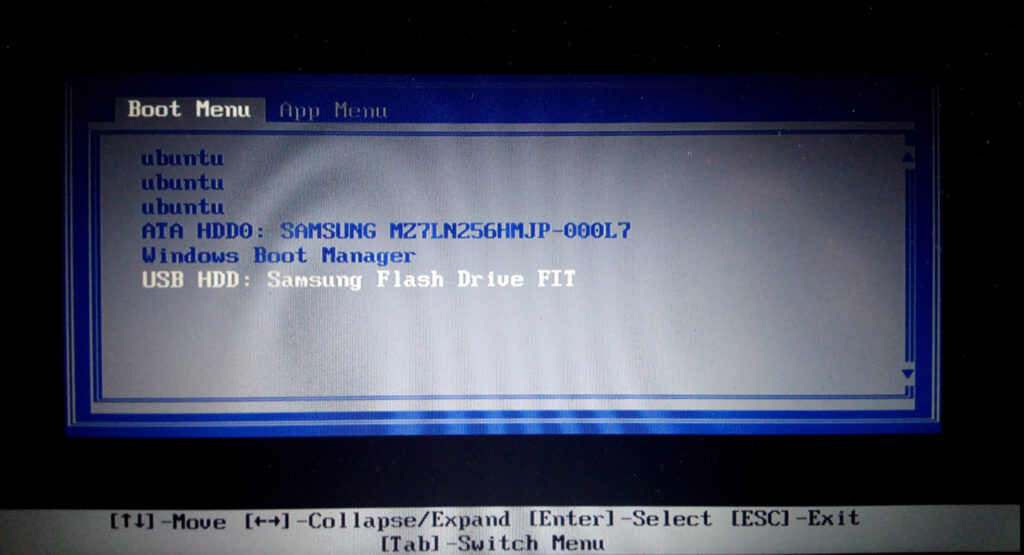
Now you can boot your computer, while holding down e.g. the F12 Key (Can be F8, F10, F7 depend on Computer) in order to enter the Boot Menu. Select your USB Stick.
-
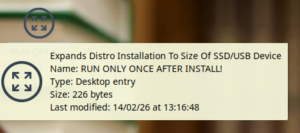
Run the script on the Desktop called "RUN ONLY ONCE AFTER INSTALL". This will expand the installation to the size of your SSD card or USB stick.
That's it! If you have any trouble, or comments, or suggestions...please contact me