ArduBlockly: Arduino for Kids (DE/EN)
This open-source course material is open for your distribution in exchange of better wording, additions, modifications and translations. Please contact me via contact@jensmeisner.net, so I can add and push it up for everyone.
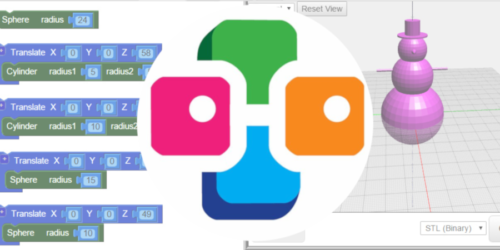
The course material of BlocksCAD: 3D Modeling with Code for Kids shows how to design and print 3D objects, which can be surroundings for project examples you will follow here.
Workshop Materials
Workshop on Gitlab
Workshop as Moodle Course
ArduBlockly Projectpage:
https://gitlab.com/DigitalStages/ardublockly
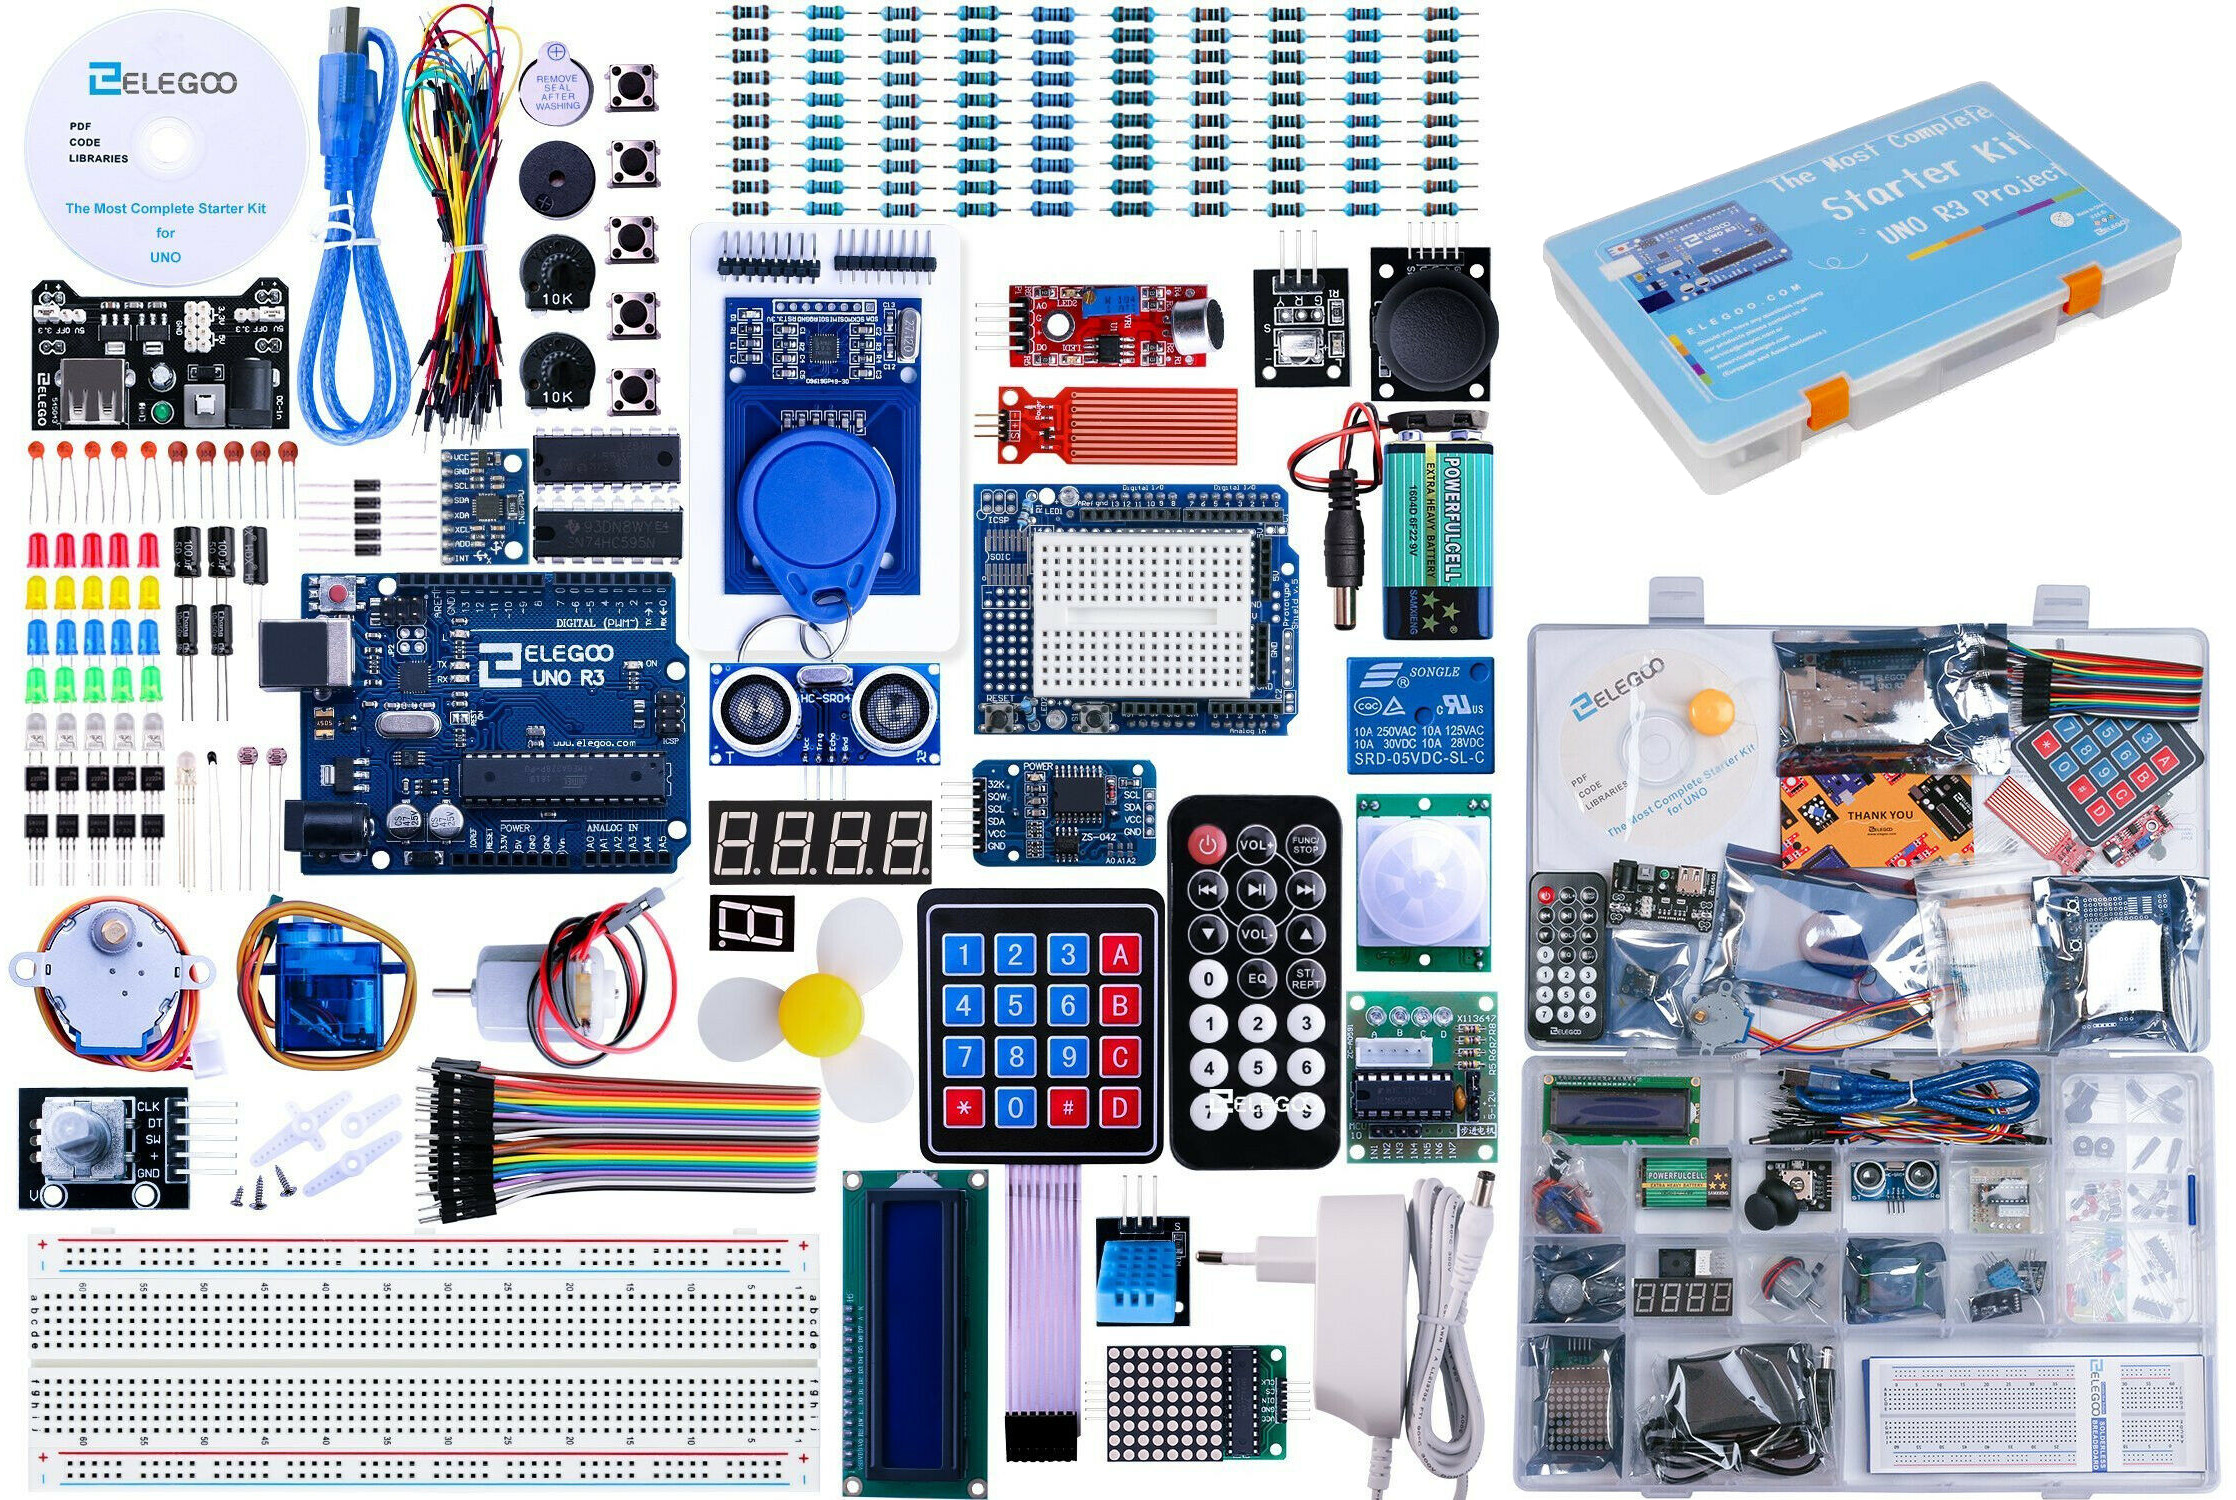 |
This open-source workshop material is concepted to walk teacher, parents and kids through The "Elegoo Most Complete Arduino Starter Kit" with 200 pieces. The extensive kit is supplied with a lot of accessories. 63 different components and over 200 parts are included. The latest UN R3 development board is also included. Your project is so easy to implement, because even the LCD1602 module requires no soldering.
The course will go through 30 practical exercises. Each lesson will have a physical part and a coding part, so the lessons vary naturally. It is also called physical coding. The material is momentarily in English and/or German.
Final versions of this examples can involve soldering. However, you also can glue or tape connectors together to keep it in place. There are smaller Arduinos you can get to replace the prototype Arudino in the Kit. They are affordable. Also the parts used off the Kit can be replaced, so you can always start with the same 200 pieces.
Age group
Teacher >> none
Kids >> 9 - 12 years
Material costs
ca. 70 Euro (Elegoo Most Complete Arduino Starter Kit)
What else do you need?
- Laptop with installed software >> Software is provided including Installation guide by tutor
-
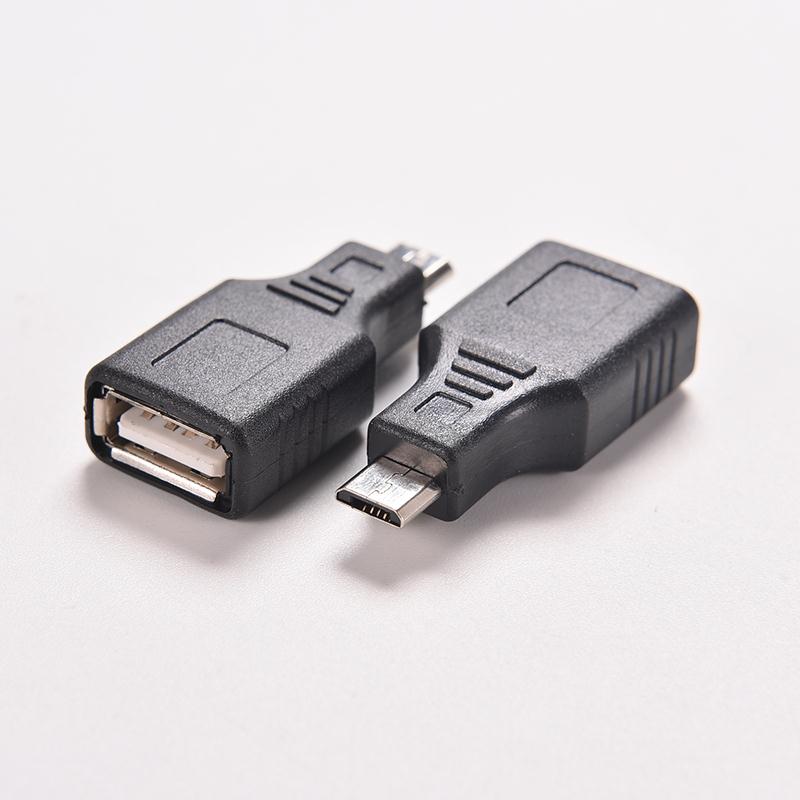
As alternative a tablet is possible, but it needs following adapter in order to upload code to an Arduino:

Ardublockly is a visual programming editor for Arduino. It is based on Google's Blockly, which has been forked to generate Arduino code.
Code Example >> Lesson 15:
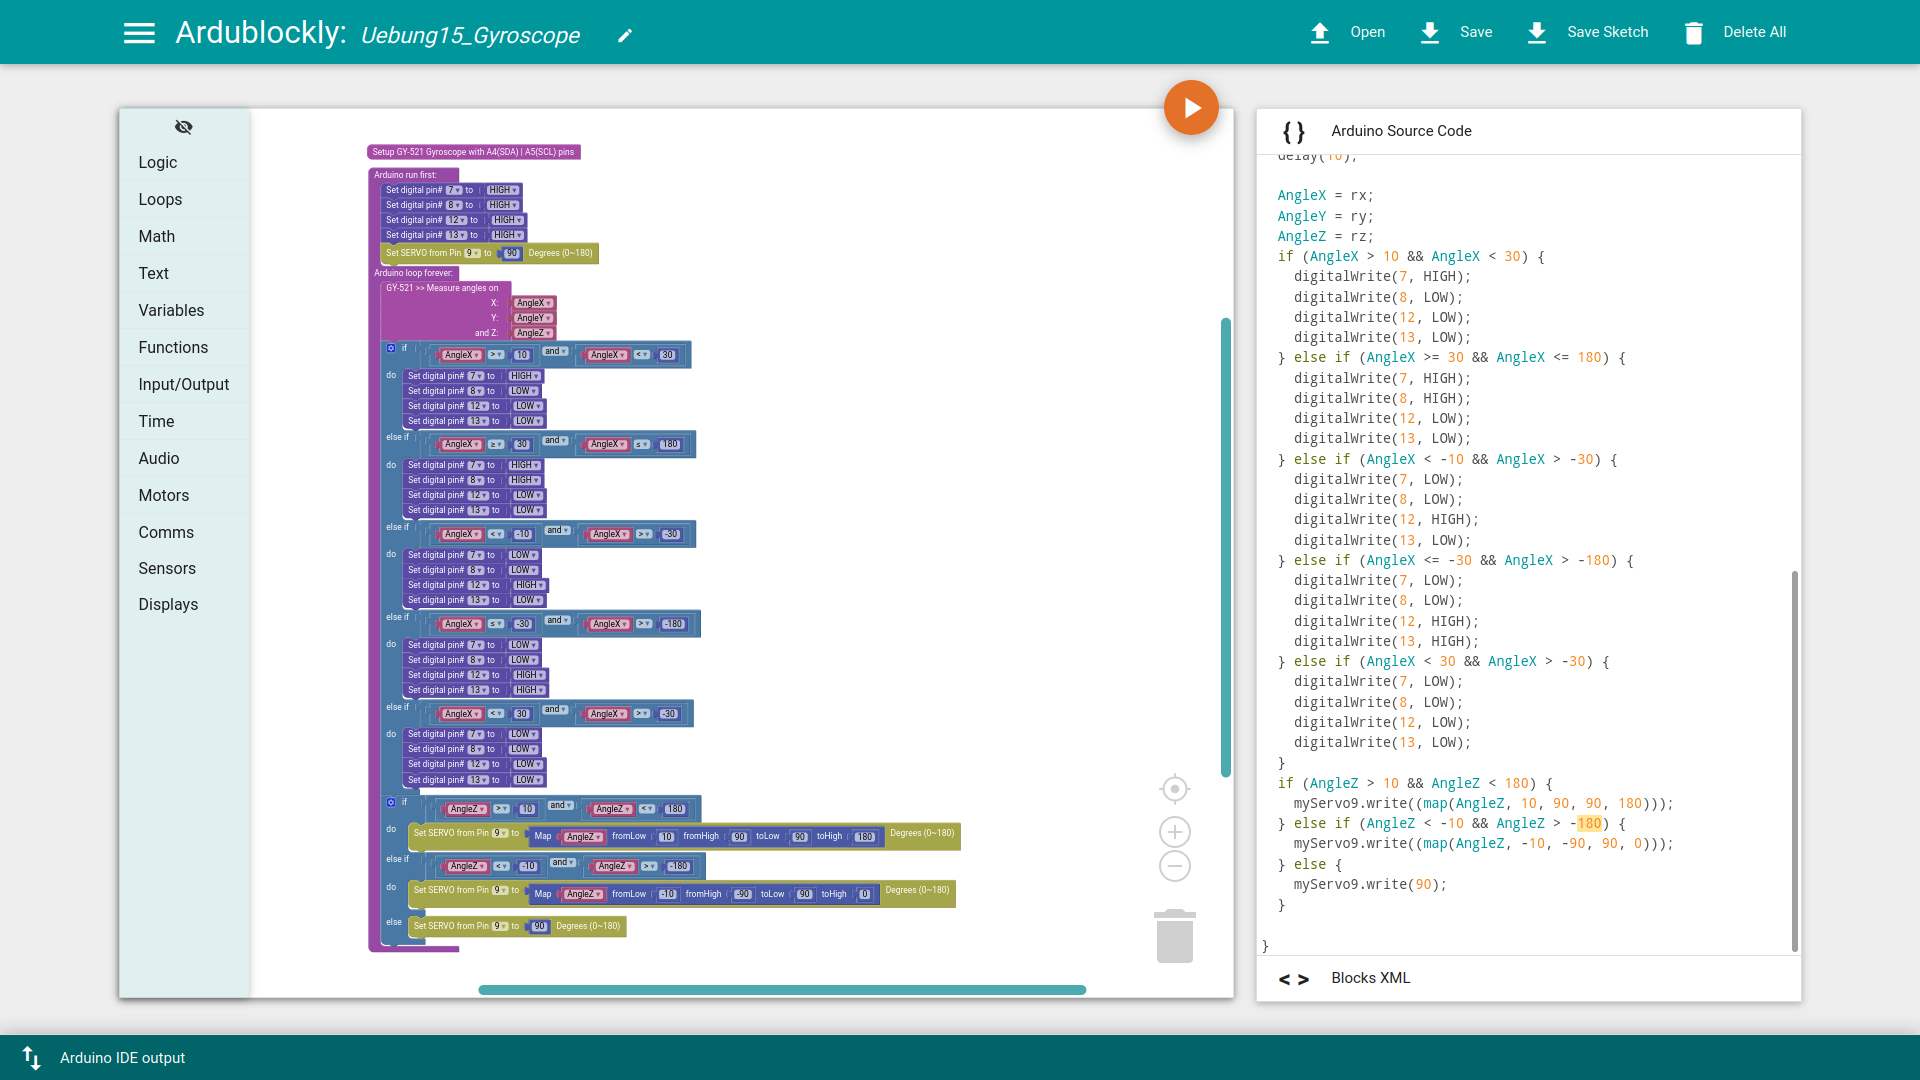
The ArdublocklyServer Python package initialises a local server to be able to compile and load the Arduino code.
ArduBlockly did need some development to get it up to the task being used for this workshop. The link below forwards you to the last version I developed particular for the Elegoo Most Complete Arduino Starter Kit, that is going to be used in this course.
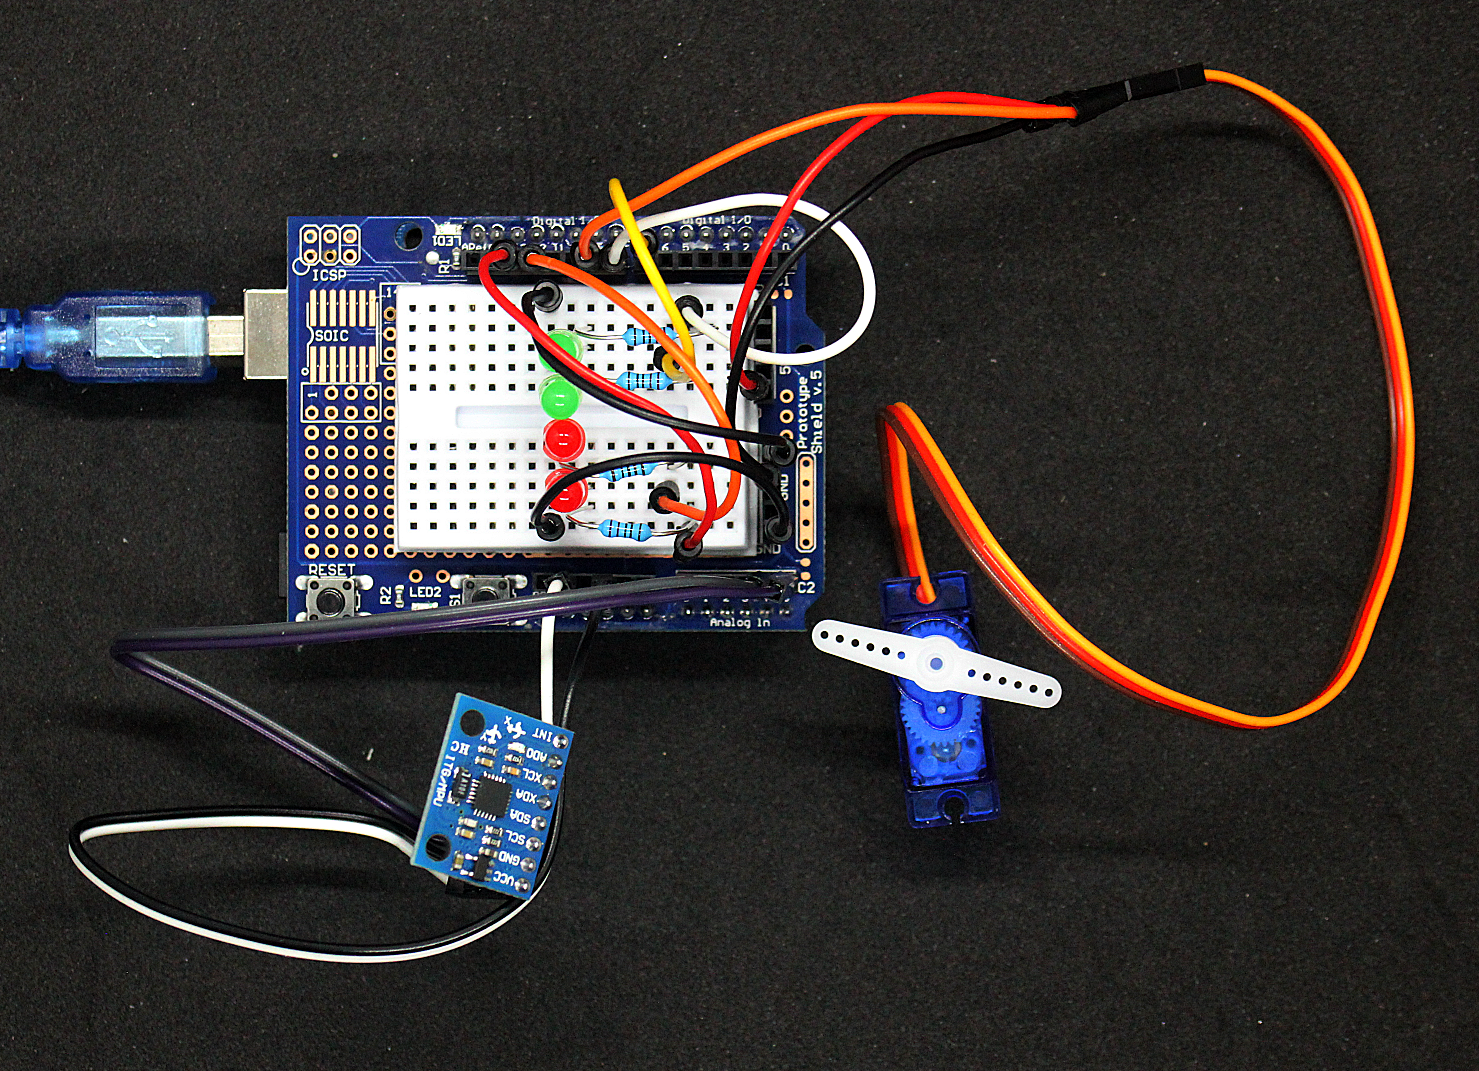
Physical Example >> Lesson 15
Course Index
1. Lets introduce ourselves
2. Lets start ArduBlockly and get comfortable with it
3. 29 Lessons > Step-by-Step
- Intro to Arduino
- "My Blinker" >> Built-in LED
- "Let there be Light" >> LED
- "More Colors" >> RGB LED
- "Button Fun" >> Digital Input
- "Let it beat!" >> Aktive Buzzer
- "Mini piano" >> Passive Buzzer
- "Simon says 'Move your arm!'" >> Tilt sensor with Motor
- "Lets make some more music!" 3>> Ultrasonic sensor with Buzzer
- "It sounds like a phone" >> Membrane Keypad with Buzzer
- "How hot is it!?" >> Temperature sensor with LEDs
- "Left, Right, Forwards, Back" >> Analog Joystick with LEDs
- "Star Light Show" >> Infra Red Remote Control with LED Matrix
- "Get animated" >> Infra Red Remote Control with LED Matrix
- "Round and Round it goes" >> Gyroscope with Motor and LEDs
- "Red, Yellow, Green....Go!!!" >> Motion sensor with LEDs
- "What time is it?" >> Realtime Clock module with Display
- "How deep is it?" >> Waterlevel sensor with Display
- "Lets scream!!!" >> Microphone sensor with Display
- "3 times the same" >> Thermometer with Display
- "You shall pass!" >> RFID Identification Scanner with Display
- "Blink, blink, blink" >> Shiftregister with LEDs
- "Brighter, lighter, light brigther" >> Photocell with LEDs
- "Countdown...9...0" >> 7Segment Display
- "1..2..3..4" >> Digital Metronome with 4x7Segment Display and Buttons
- "Lets make some wind" >> DC Motor with Softblades and Buttons
- "Tic Tac Toc" >> Relay with DC Motor
- "Brummm" >> DC Motor with RotaryEncoder (Potentiometer)
- "Last but not least" >> DC Motor with IR Remote Control
4. Lets build a robot
- This project is more complex project, and will connect many of the knowledge you already learned.
- The robot will trace lines and follow those lines
- It also will try to avoid obstacles in the way, maybe blinks or makes some noise, or try to get around the obstacle.
- We need some additional parts beside the parts from the kit.
Extra material costs:
ca. 20 Euro